Couple words for introduction
Today, I share a repaint for another aircraft that enchanted me. Did you ever hear something like: “Half a ton, anytime, anywhere”. If so, it was probably in reference to this airplane – The DHC-2 Beaver. Beautiful lines, strong engine, great reliability…. but why to write about, it, when it is all in the song:
This repaint is for DHC-2 Beaver from Milviz, made for FSX and Prepar3D. So if you are interested and have this airplane in your virtual hangar, download is somewhere below.
Legal stuff, yes the boring part
Hey, I have read all this stuff with your previous repaints, just get me to download links…
The fictional repaint(s) for DHC-2 Beaver airplane is provided as is without any warranty. As you read with most software products, use it at your own risk. I take no responsibility for anything.
The repaint(s) included in this archive was made … just because as many other out there, because I love flight simulation.
IF NOTHING ELSE, PLEASE READ AND RESPECT FOLLOWING:
You may NOT publicly redistribute this repaint(s)! Without prior consent (see contact below), this repaint(s) may be available only on these websites:
You may NOT publish any screenshot(s) that would put any bad light on me, Mouseviator , Spejbl and Hurvinek puppets and/or any other mark used in this repaint.
What that means? Of course, I do not care if you take this repaint(s) to your friend on flash drive or send it to him using electronic way. But I do not want to see this package to be distributed publicly without prior agreement. About the “screenshots and bad light thing” – don’t make any screenshot showing terrorist attack (like crashing into building), sexually related content, discrimination, something abusive … etc. Ie. don’t be jerk.
If you want to edit this repaint, you can! But this repaint contains some marks (art), that are not my property and this should be considered in the edited
repaint also, thus should be noted. See the 3rd party resources used below.
If you keep those resources, you should mention that in your Readme file. It actually applies to everything, that you may include in your repaint and is not your work.
3rd party resources used
- Image of czech puppets – Spejbl and Hurvinek
- The Pin-up girl drawing, drawn by pin-up artist Alberto Vargas
https://en.wikipedia.org/wiki/Alberto_Vargas - “Chem-trails” logo on pilot uniform.
- The image of the Beaver on the top of the cabin.
https://icon-library.net/icon/beaver-icon-15.html - Baywatch logo on the canoe.
https://www.pinterest.com/pin/374854368966584962/
Download
Below you can download the Mouseviator repaint for Milviz DHC-2 Beaver.
Download from this website:
Download from Google Drive:
Installation
The archive should contain these folders:
- texture.OKMVB
- texture.OKMVB-STOL
- thumbnails
and files:
- aircraft.cfg.txt
- aircraft.cfg.floats.txt
- aircraft.cfg.skis.txt
- aircraft.cfg.skis_stol.txt
- aircraft.cfg.stol.txt
- aircraft.cfg.straight_floats.txt
- aircraft.cfg.straight_floats_stol.txt
- aircraft.cfg.tundra.txt
- aircraft.cfg.tundra_stol.txt
1) Copy folder with textures to Milviz DHC-2 Beaver aircraft folder
Navigate to folder where your Milviz DHC-2 Beaver is installed.You will find it at the “SimObjects\Airplanes\DHC-2 Beaver Milviz“ at your flight sim folder. The whole path might look like this:
C:\Program Files\Lockheed Martin\Prepard3D v4\SimObjects\Airplanes\DHC-2 Beaver Milviz
Those were just examples, the location depends on where you have your flight simulator installed.
There will be more of these folders, depending on whether you have also the expansion pack or just the base pack. Each folder is for separate aircraft variant. And for these variants, there are separate configuration files (listed above). For example, the “aircraft.cfg.txt” contains configuration to put into aircraft.cfg for the base aircraft variant stored in the “DHC-2 Beaver Milviz” folder. The “aircraft.cfg.floats.txt” is for the floats version stored in the “DHC-2 Beaver Milviz Floats“. Etc.
Copy the texture.OKMVB folder into the aircraft folder for the variant you want (all if you want).
If you chose aircraft variant, that contains the “STOL” word in it’s folder name, also copy all the files from the “texture.OKMVB-STOL” folder into the copied
“texture.OKMVB” folder. Overwrite the existing files. The “texture.OKMVB-STOL” folder contains slightly adjusted main texture for the STOL variant of the aircraft.
If you want correct thumbnail picture (does not apply to Prepar3D v4), copy the respective thumbnail file from the thumbnails folder (you will find it, it is named according to Beaver variant) into the copied texture.OKMVB folder and rename it to thumbnail.jpg. Overwrite the already included file (which is for base variant).
2) Add repaint to Aircraft.cfg
In the folder you found in step 1, there is a file called Aircraft.cfg. Open this file in notepad or another text editor (For basic text editing, without any formatting. Make sure the file is saved again as Aircraft.cfg, not Arcraft.cfg.txt).
Scroll down the file and look for lines starting with [fltsim.X] where X is some number. There will be [fltsim.0], [fltsim.1] etc. Find the last “fltsim” section and look what the last number is.
Open the included “aircraft.cfg.—–.txt” file that corresponds to the aircraft variant you copied the texture folder for in step 1. Copy the whole content of the file (it is another “fltsim” section) after the last “fltsim” section into Aircraft.cfg you have opened.
Change the “X” in pasted “fltsim” section to the next available number. For example, if the last “fltsim” section in the Aircraft.cfg was [fltsim.2], you will change [fltsim.X] to [fltsim.3].
Save the Aircraft.cfg file.
3) Go flying
That’s it. Prepar3D should now see the new repaint. Select it and go flying.
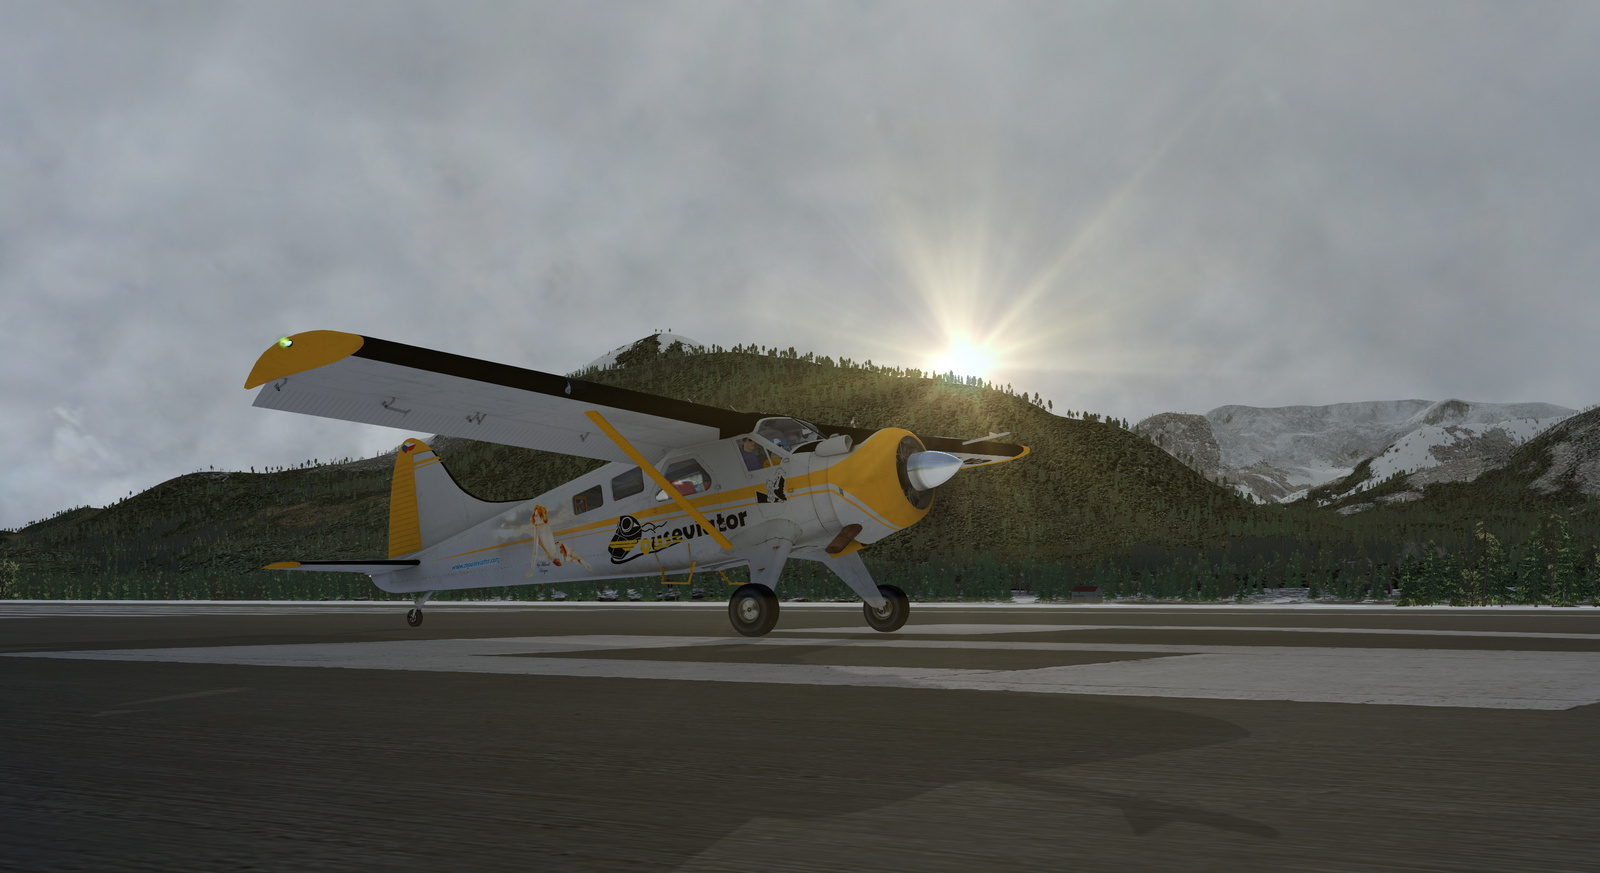
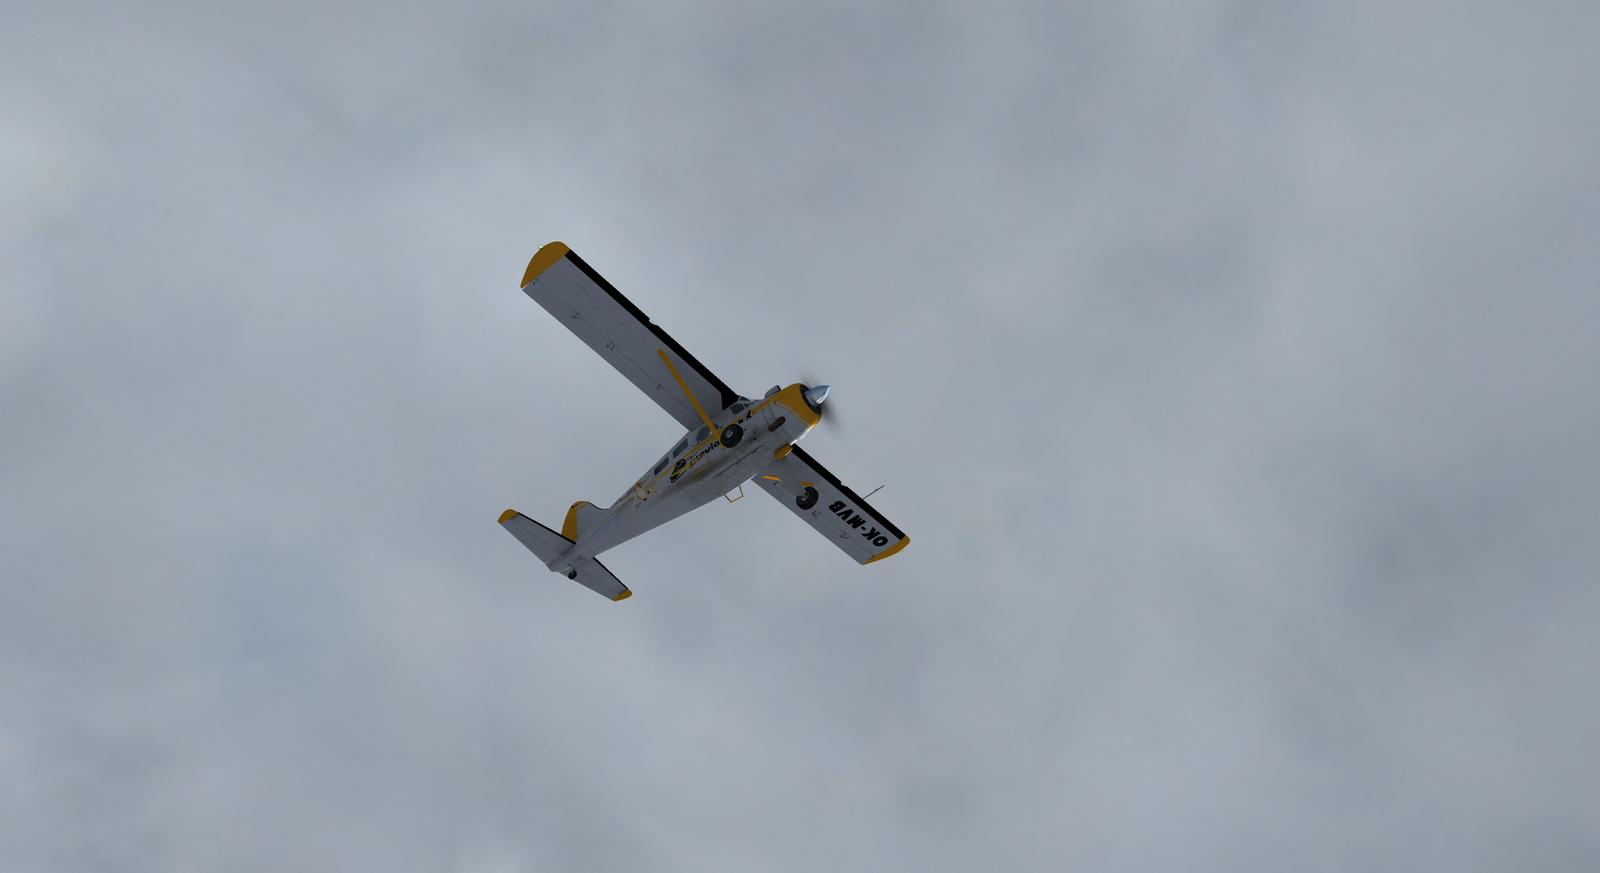
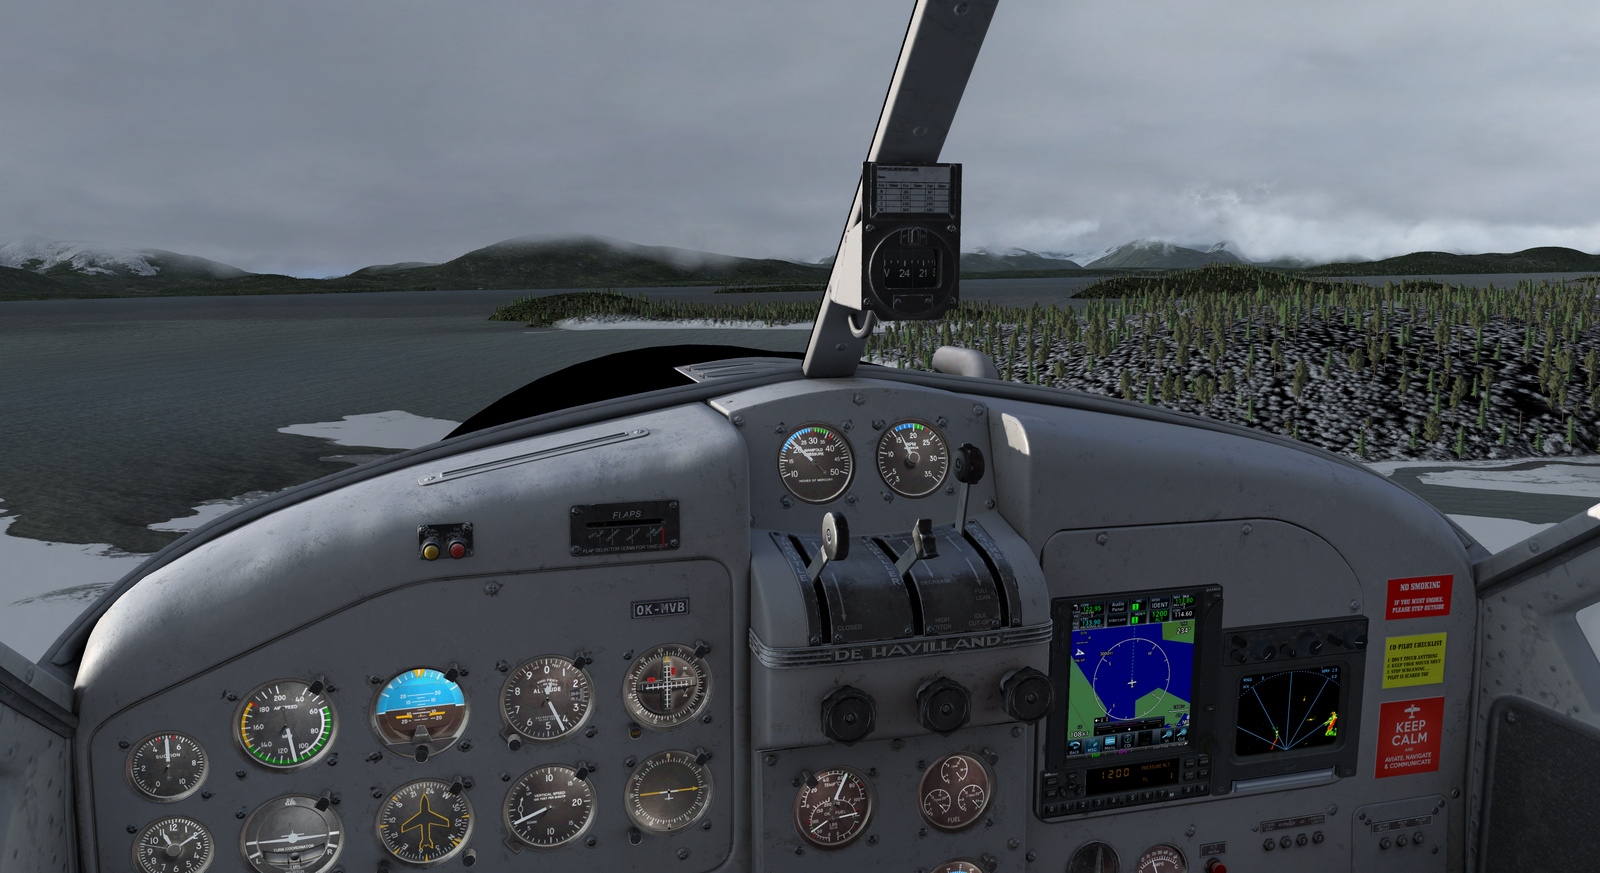
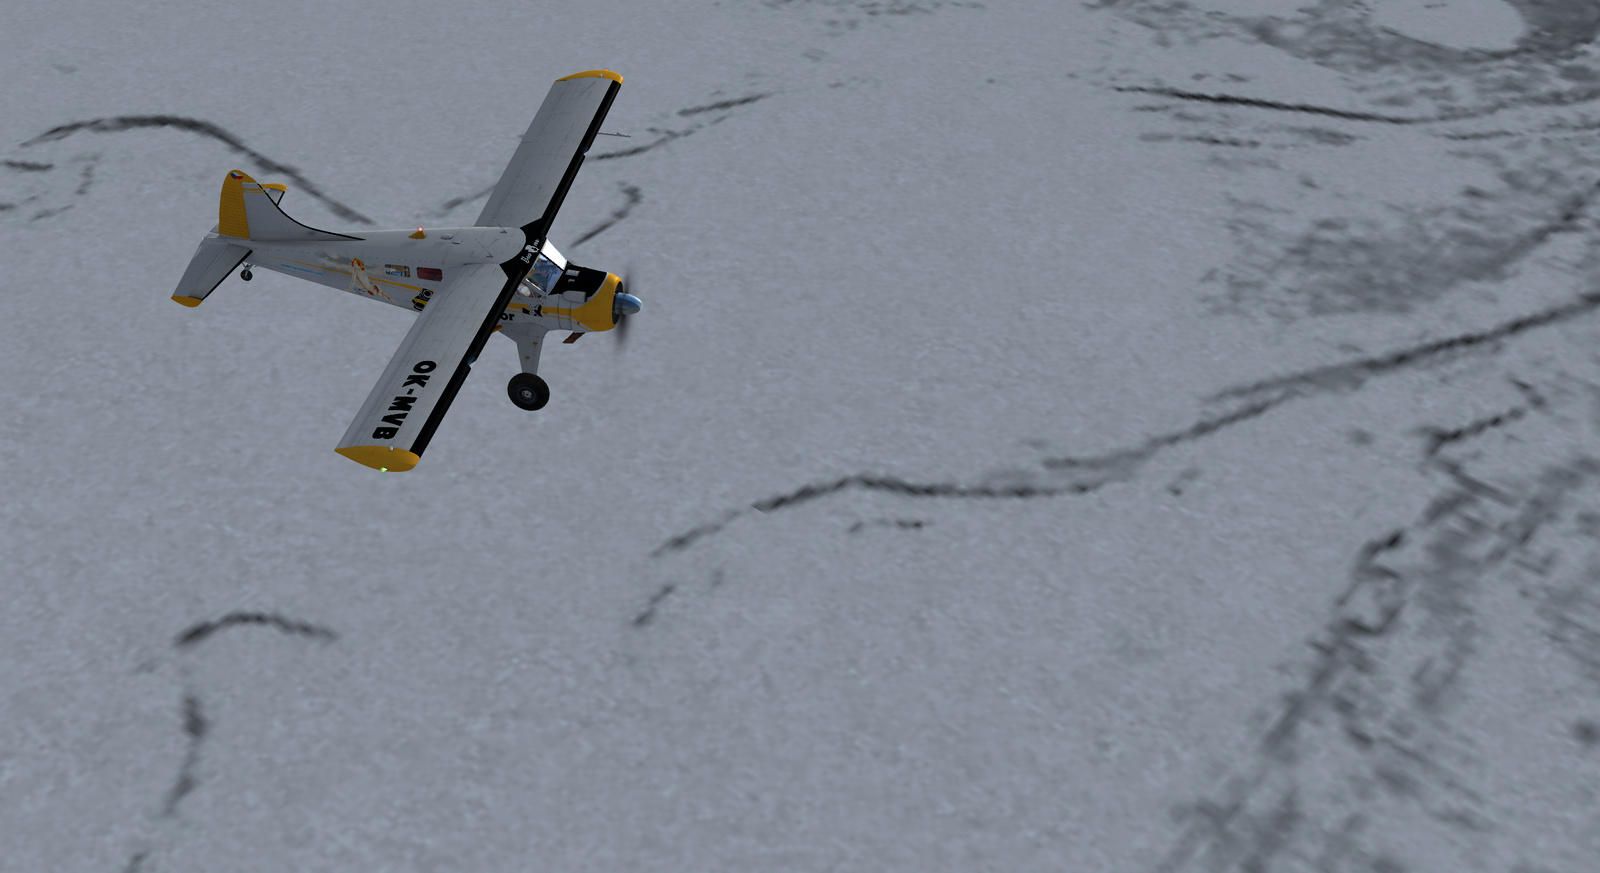
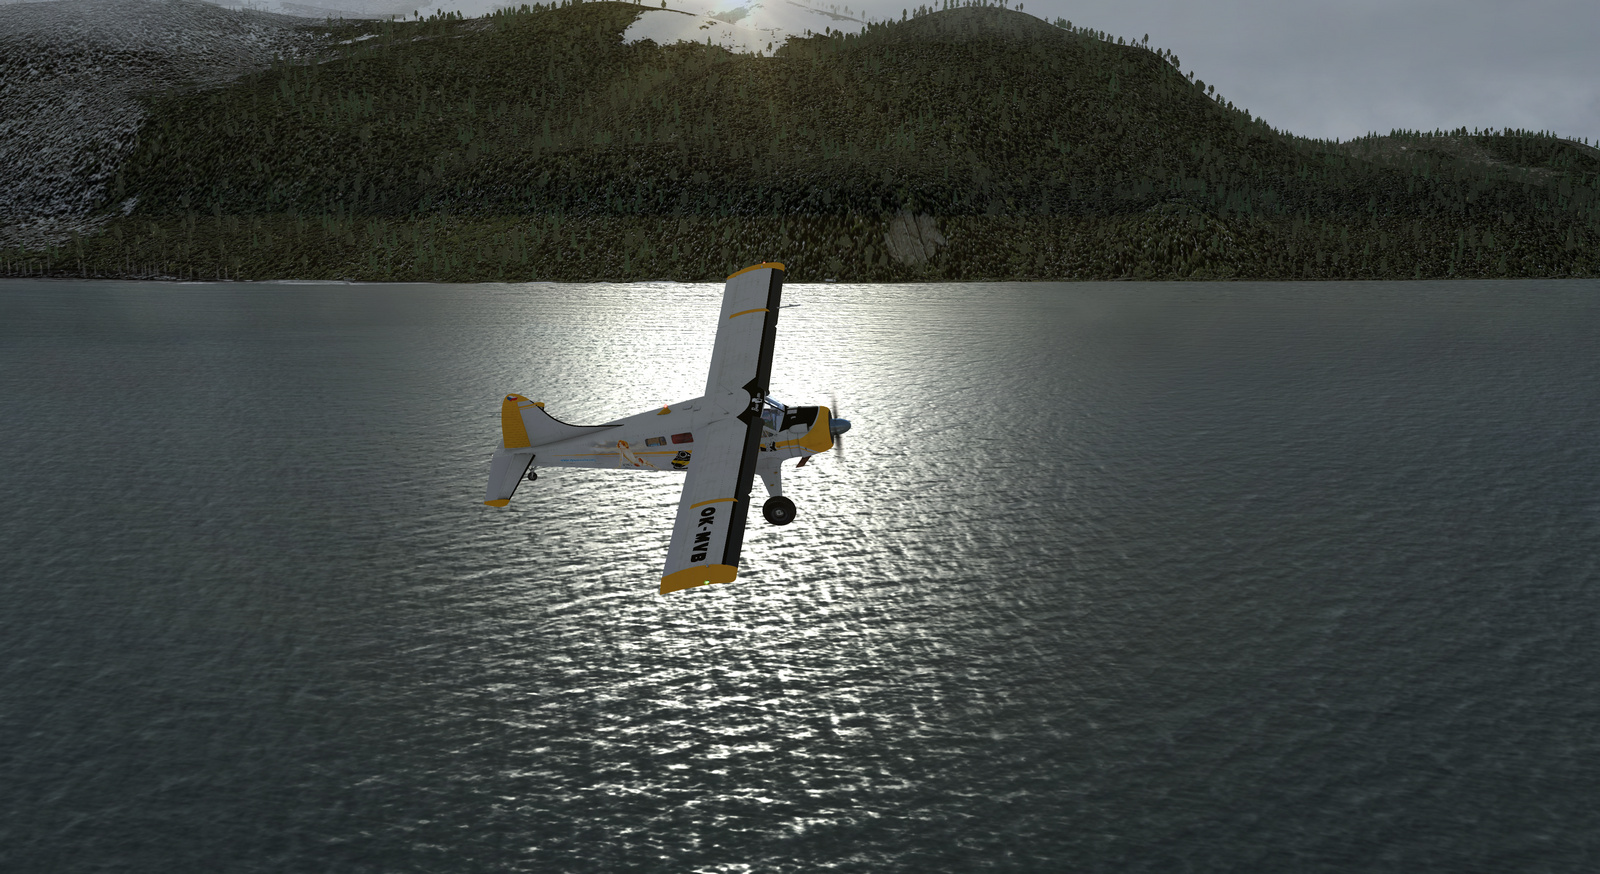
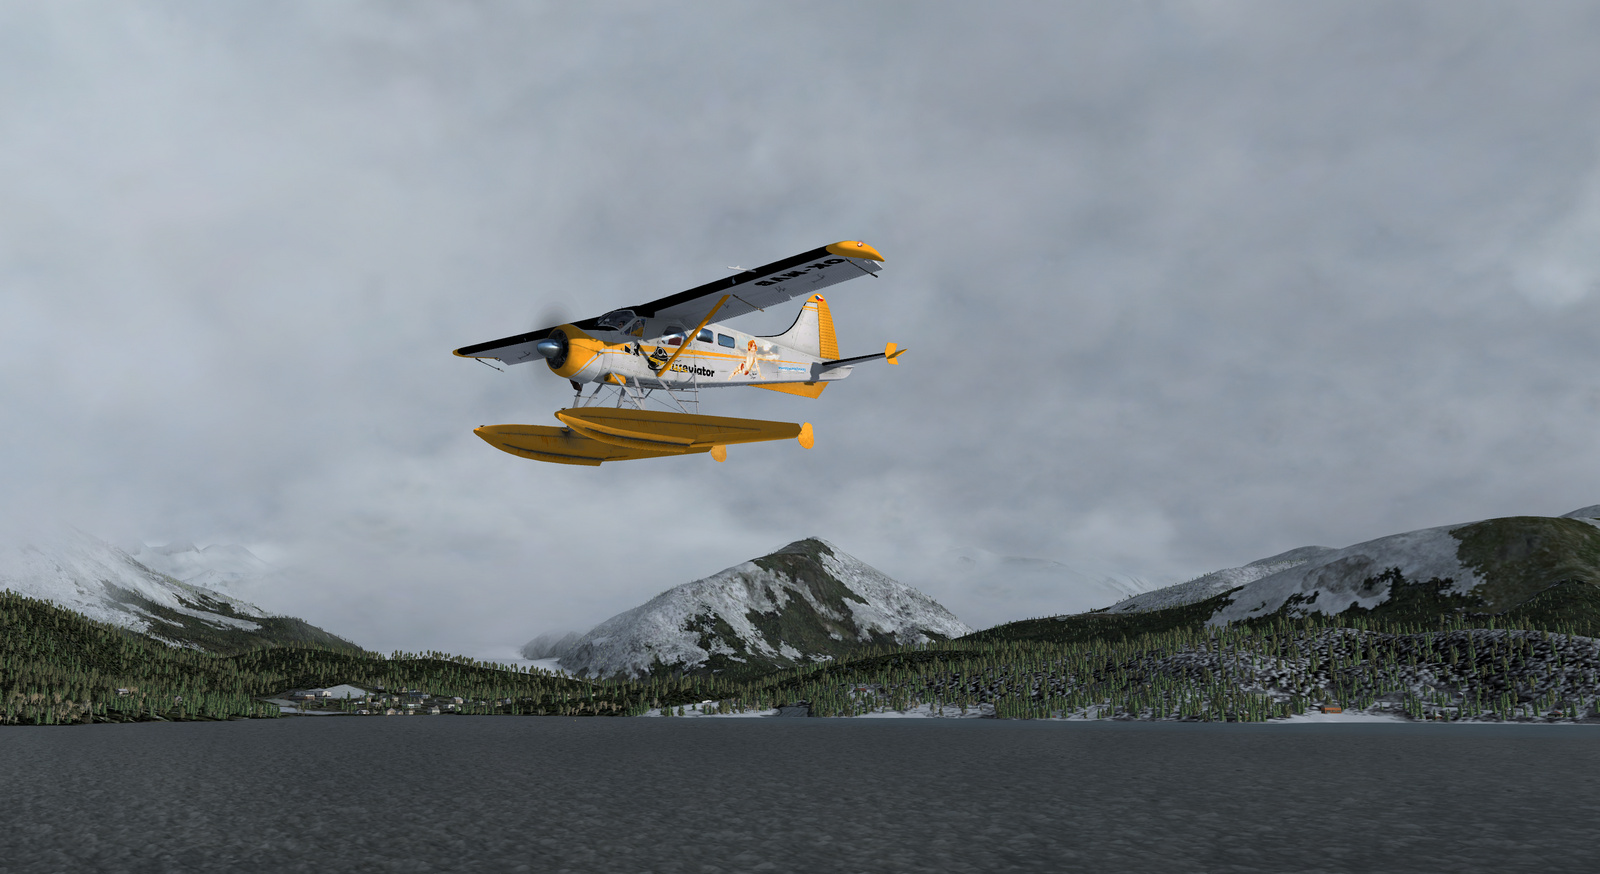
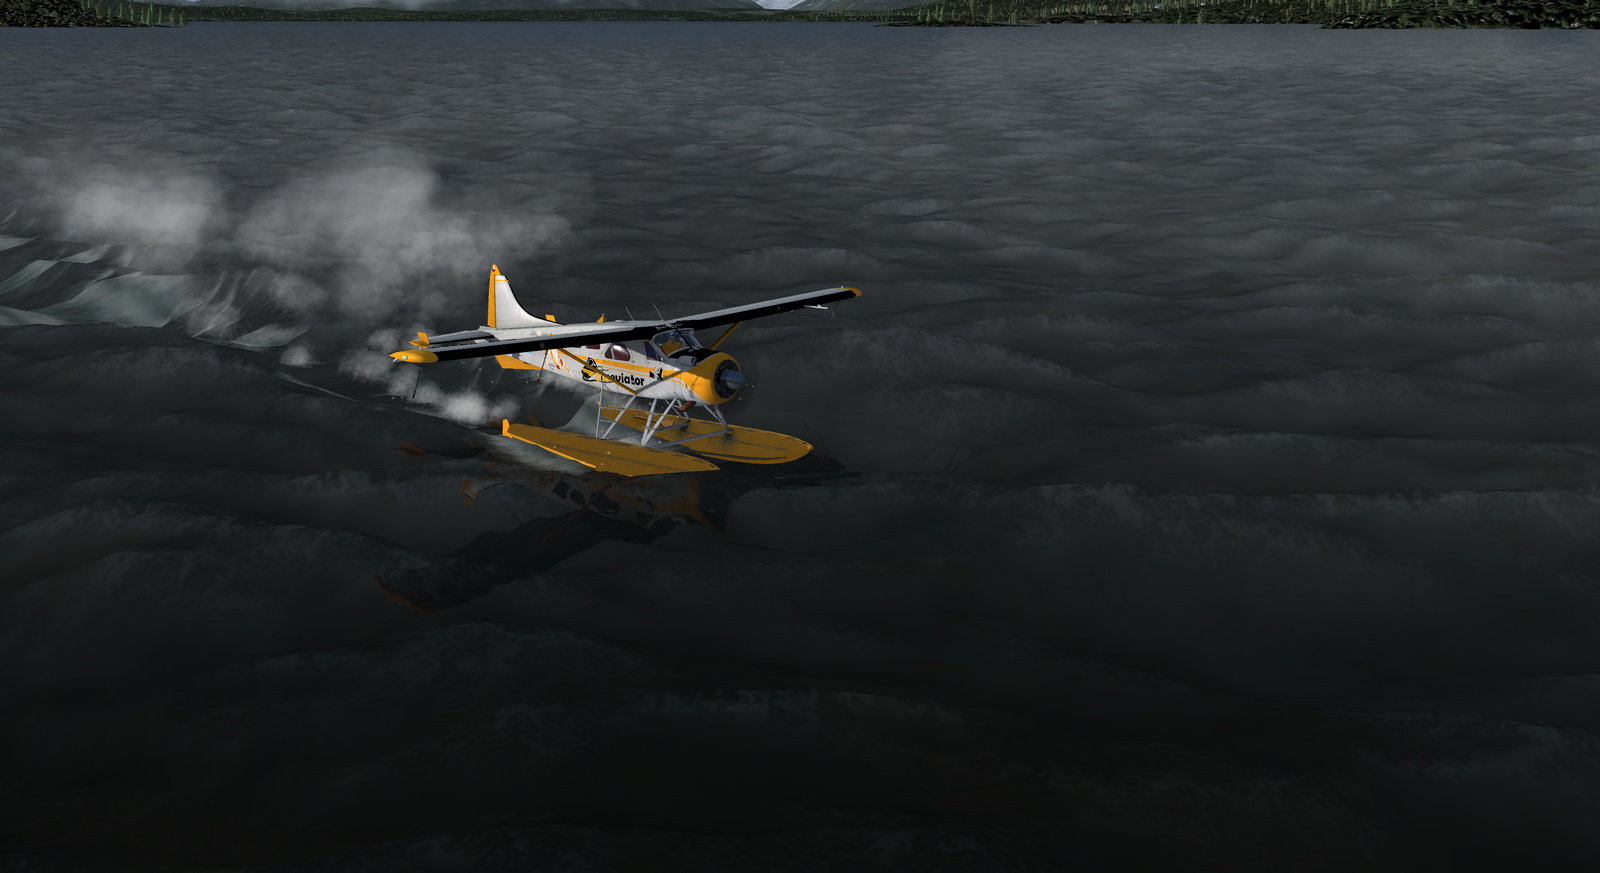
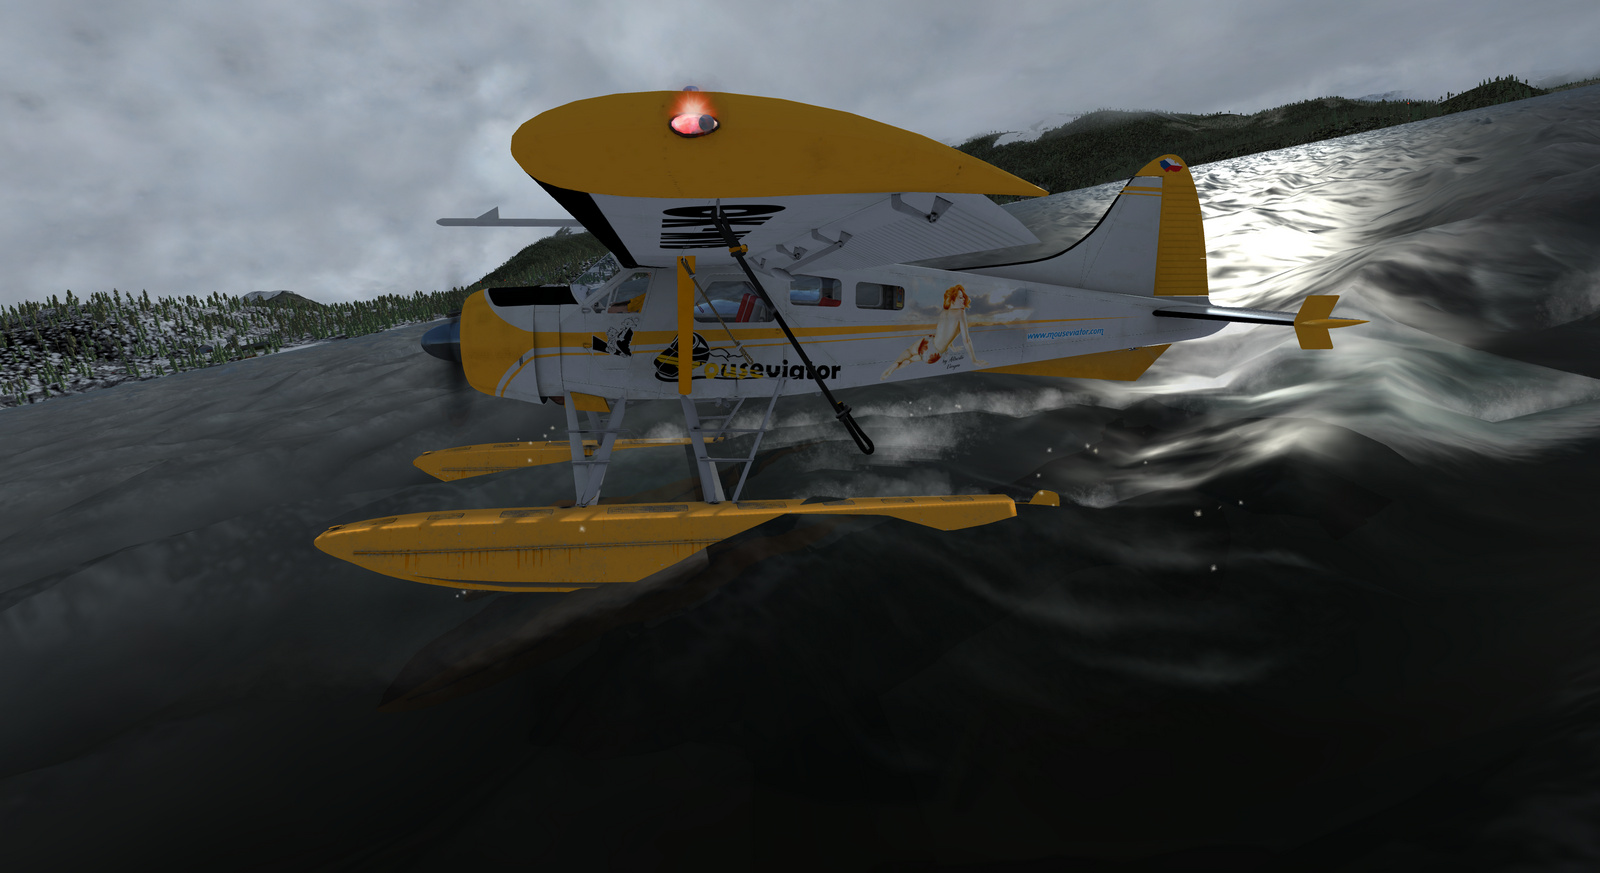
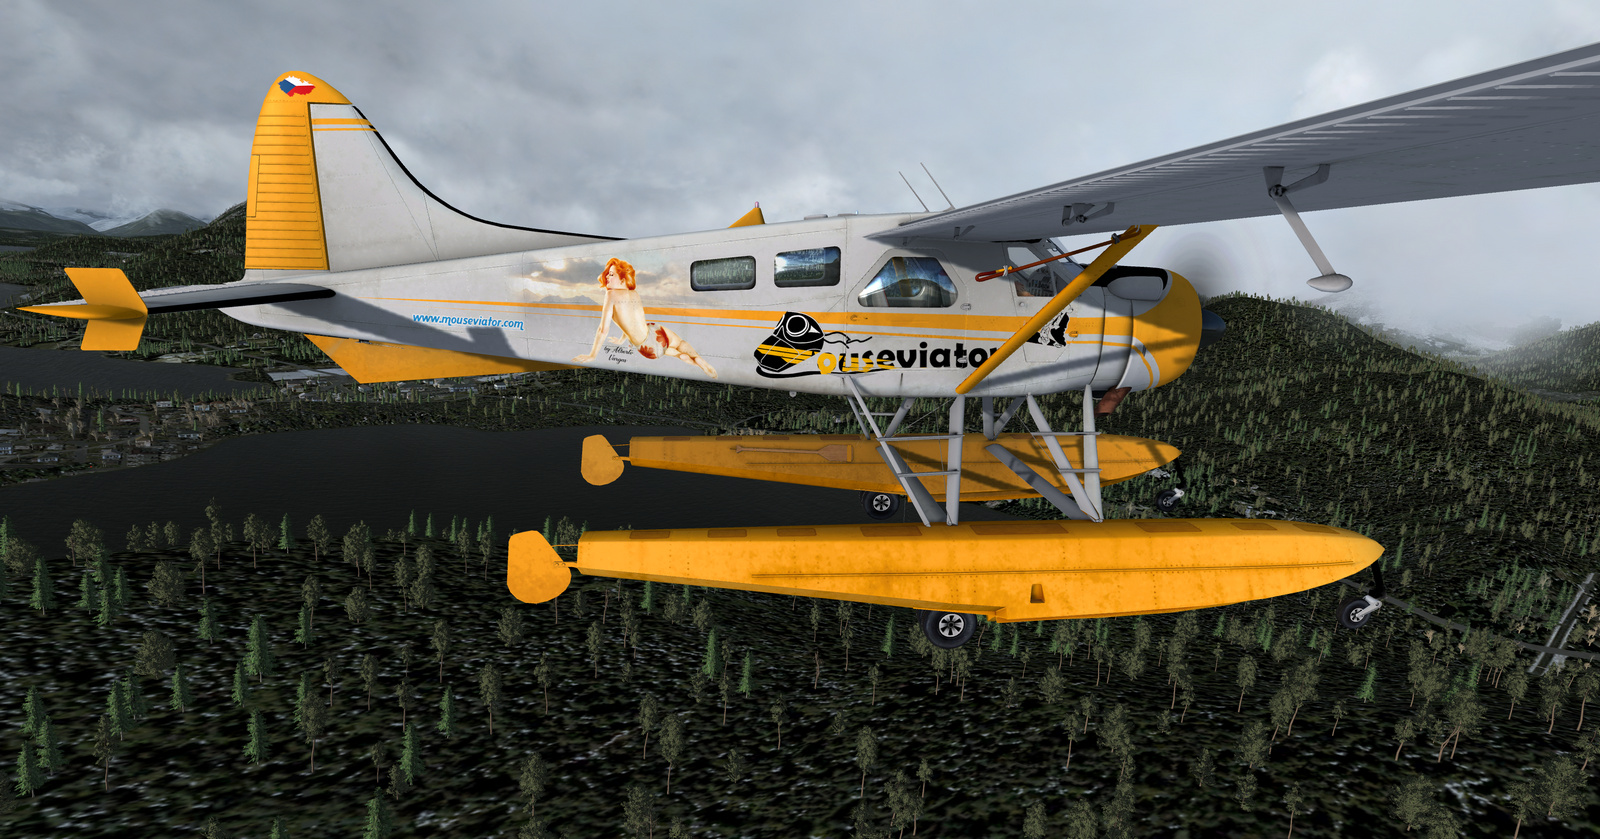
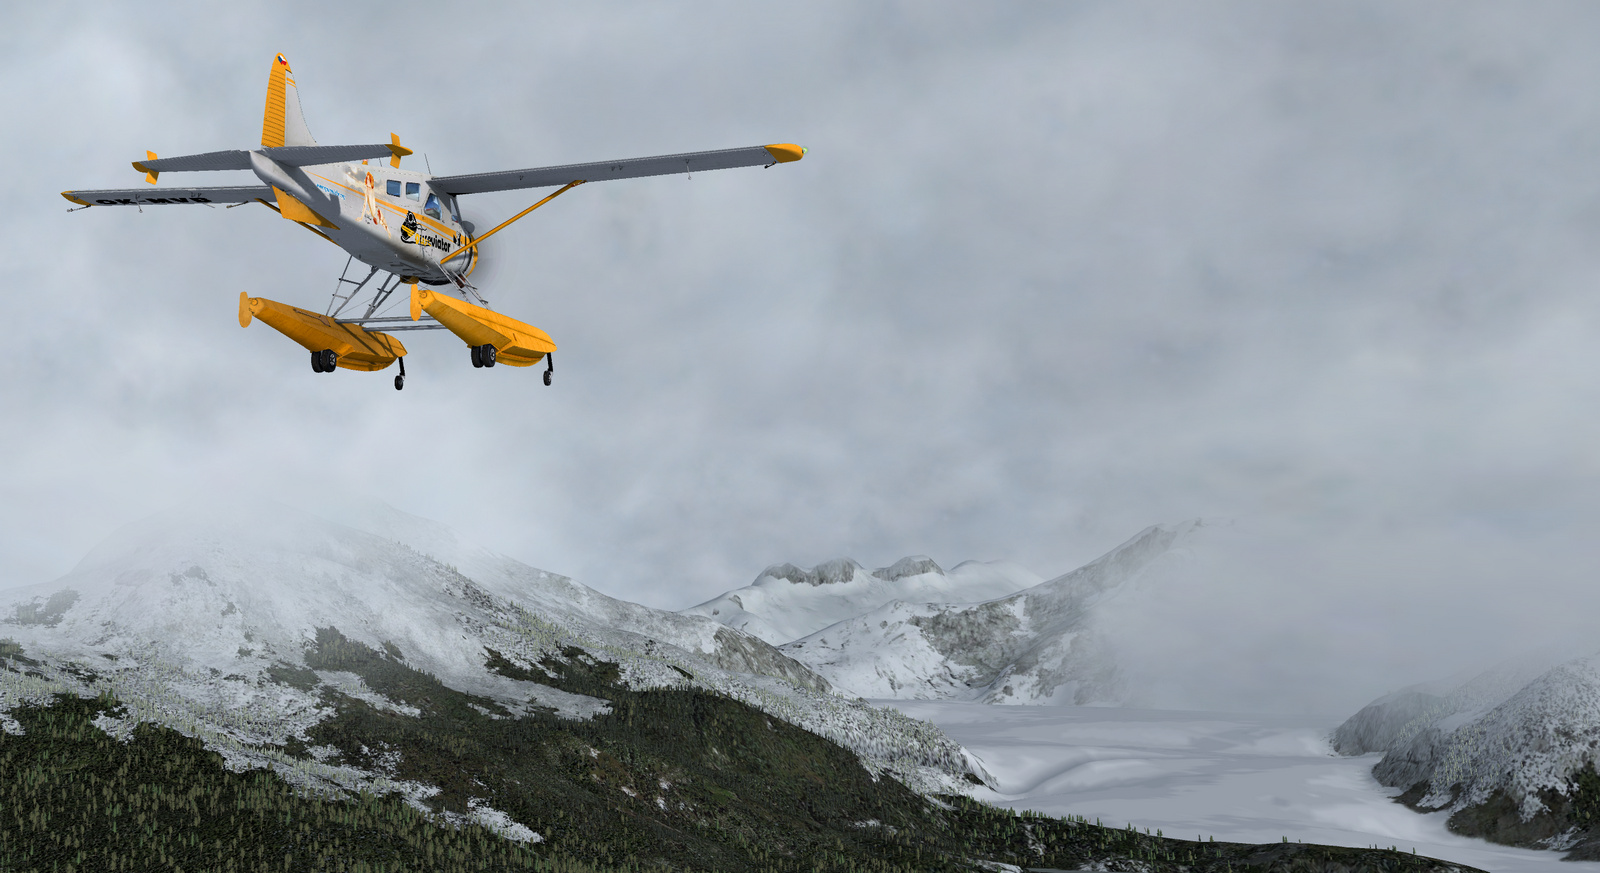
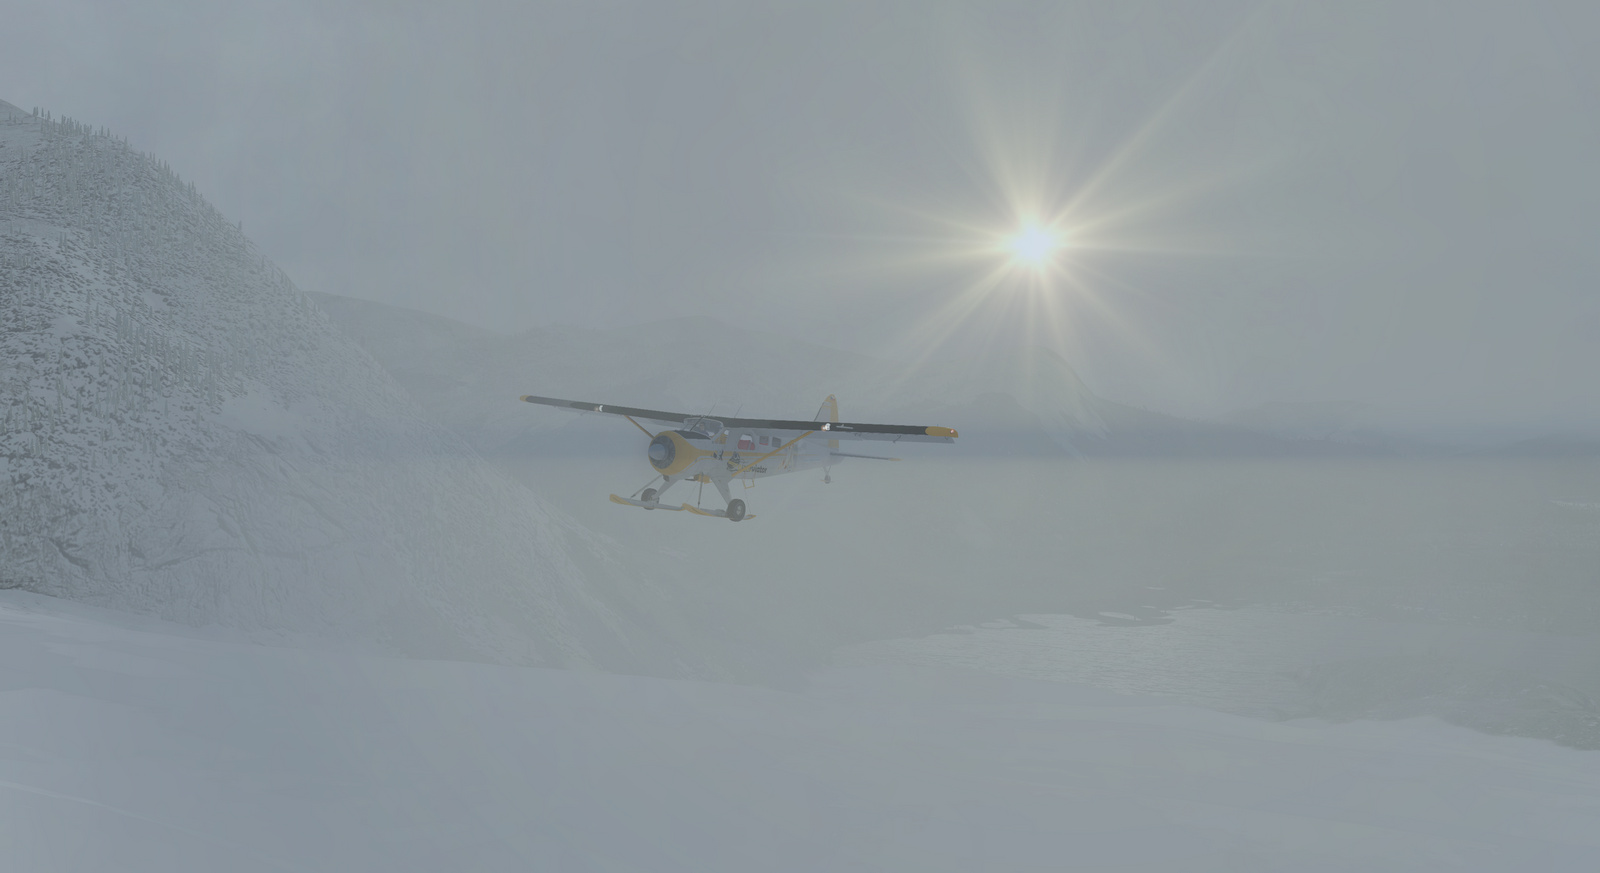
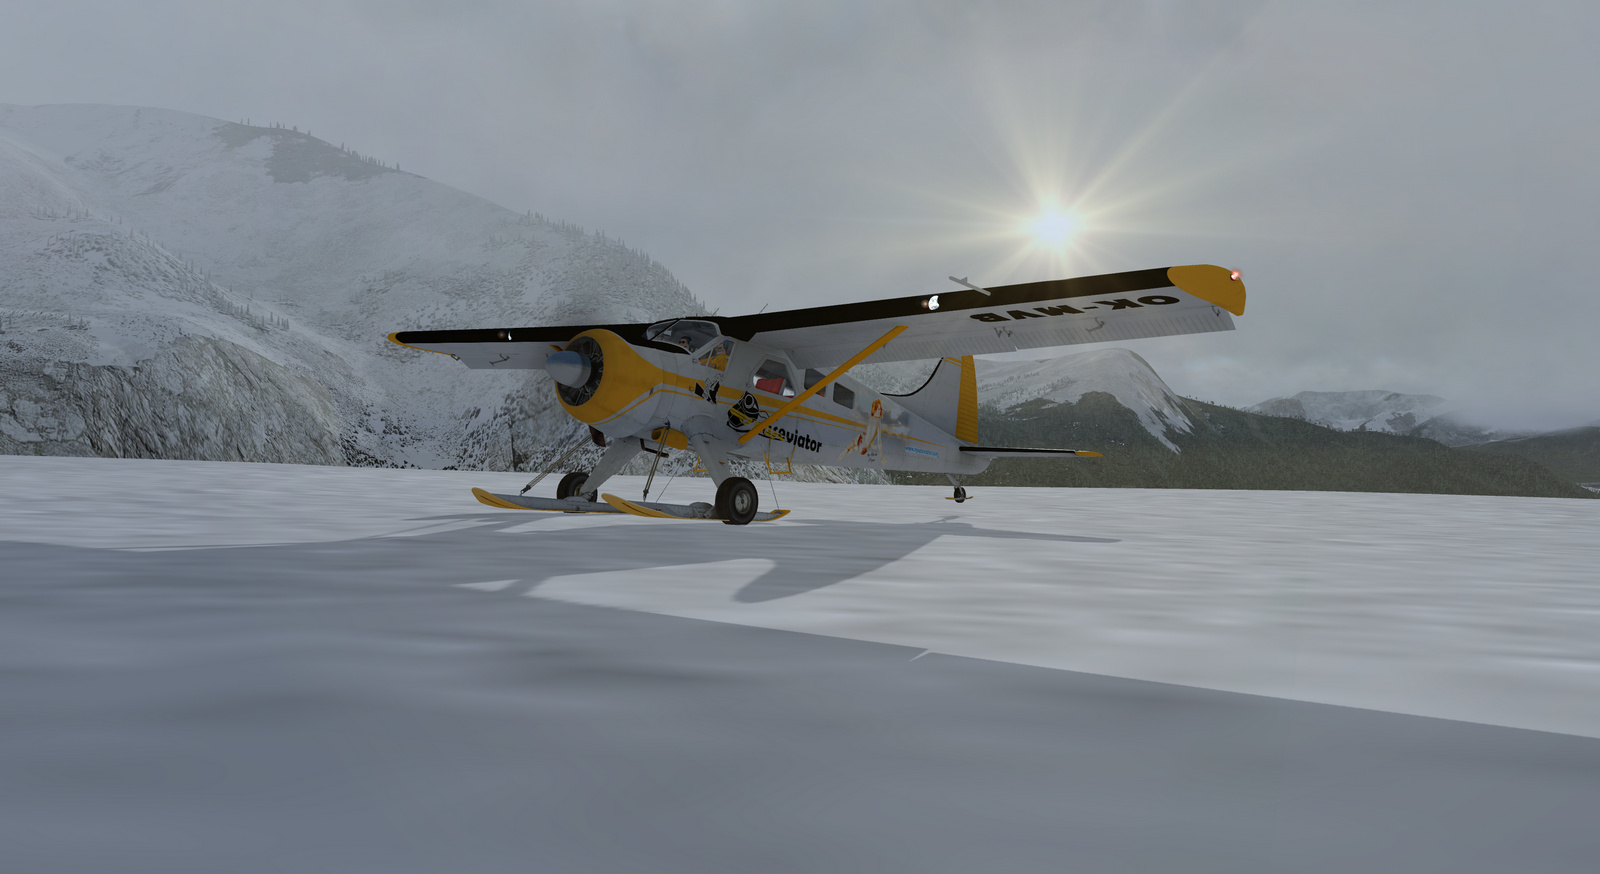
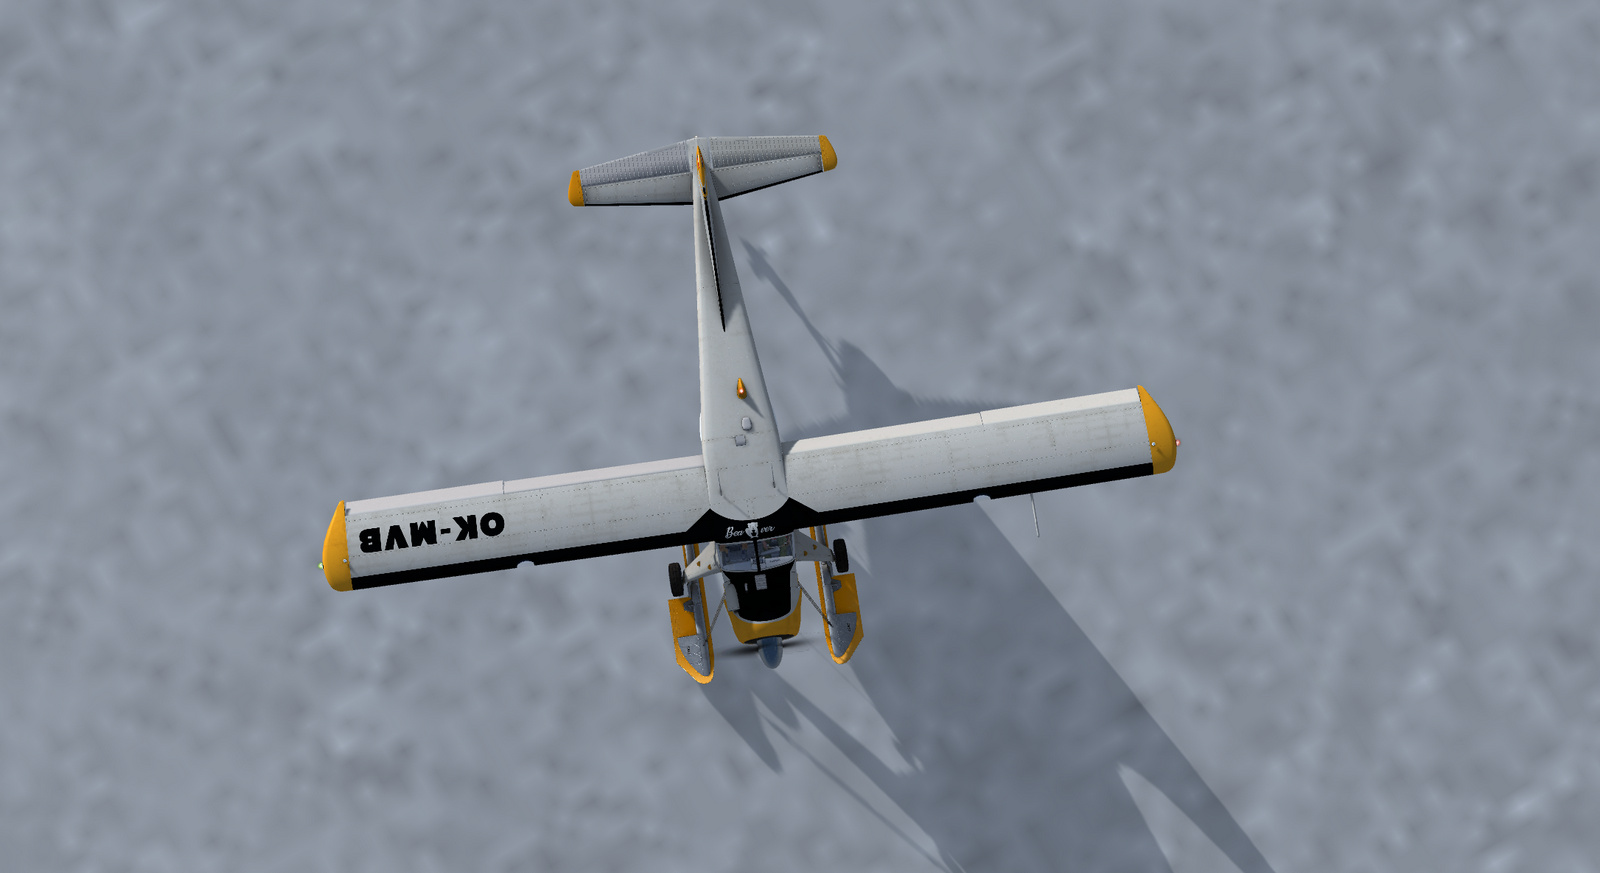
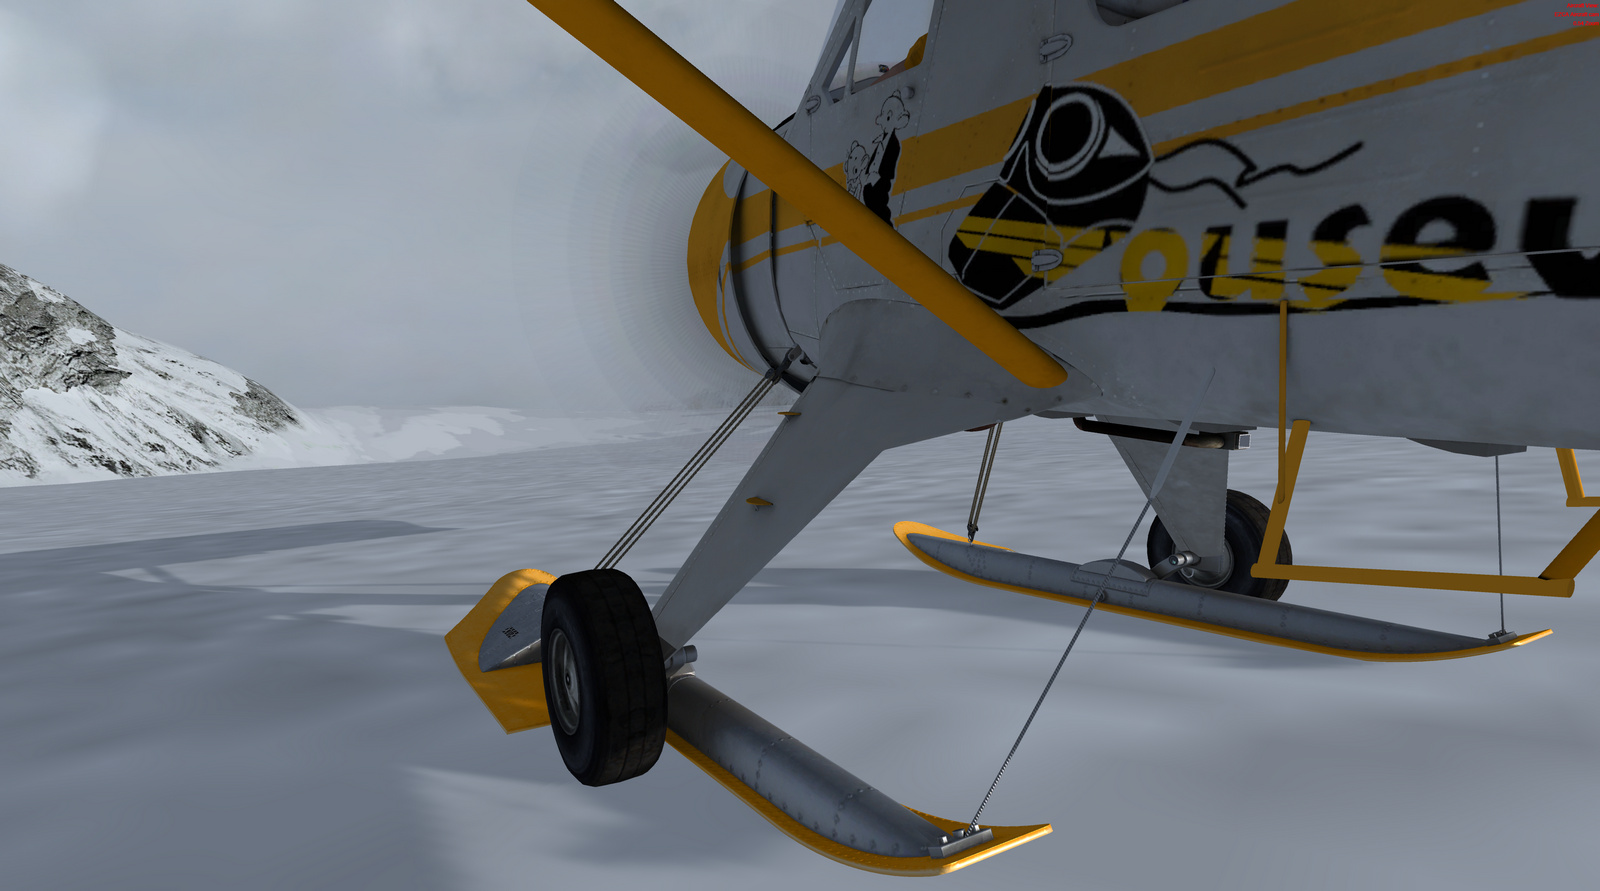
Gallery
Here are some pictures of the airplane. I took screens of different variants, so you can see the normal, floats, skis and tundra versions. Well, they do not differ, except for the “landing gear”.