A few words for the introduction
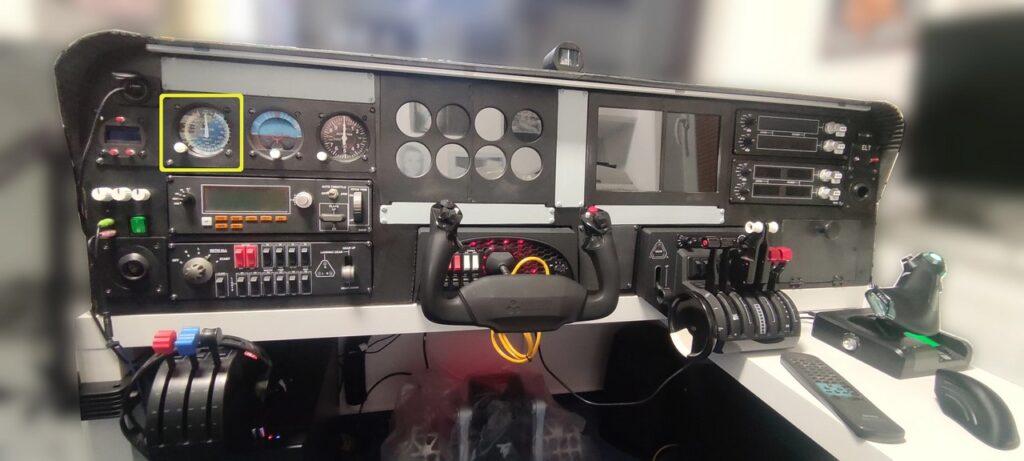
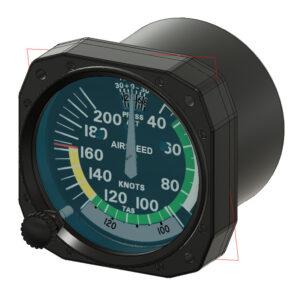
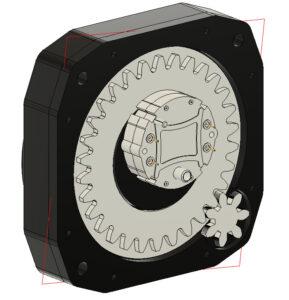
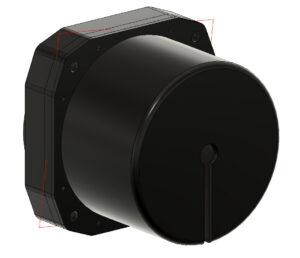
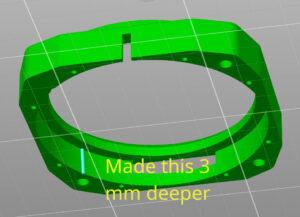
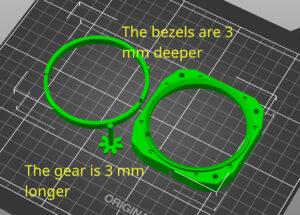
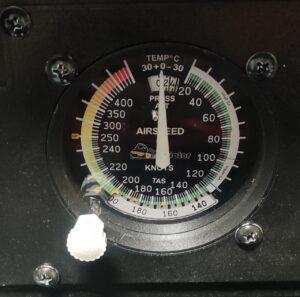
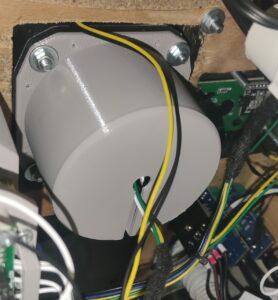
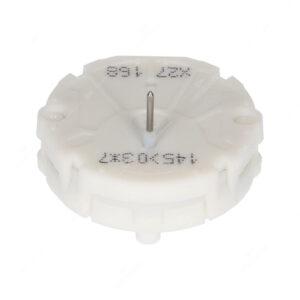
The airspeed indicator was the last of the 3 backup “gauges” I built into the cockpit instrument panel. It is also the simplest of the three backup instruments in terms of connection. It only contains an LED for backlighting and one X27-168 stepper motor, which can be controlled directly by Arduino, i.e. without another electronic board. With this device, compared to the original from Captain Bob, I also adjusted the depth of the front frame / bezel (by 3 mm). Maybe the needle went higher than it should have, but in the original design it hit the 3mm cover glass, so I couldn’t assemble the instrument. And even if I would have assembled it by force, that needle probably wouldn’t want to turn much. I also created my own scale, as the one designed for the Cessna 172 would often not fit my “universal” cockpit, which is supposed to be able to also work with faster aircraft.
Gallery
The description is a good thing, but the picture is just fine:
Wiring
Below is a picture of the airspeed indicator wiring.
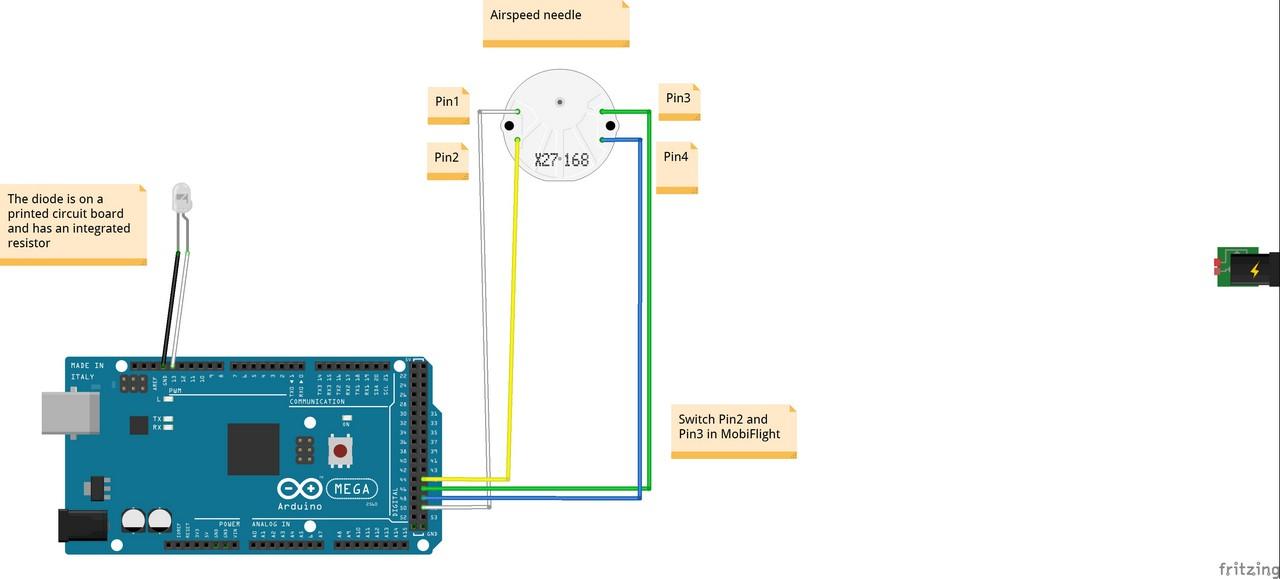
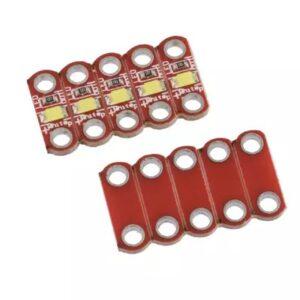
It’s not that complicated. The LED for the instrument backlight has an anode (white cable) connected to the PWM output of the Arduino Mega board and a cathode (black cable) to ground. It is a small LED on a printed circuit board with an integrated resistor. Here it was enough just to connect it by cables to the Arduino.
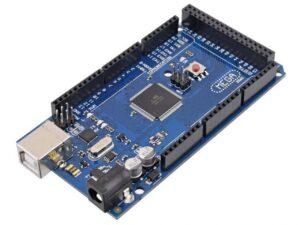
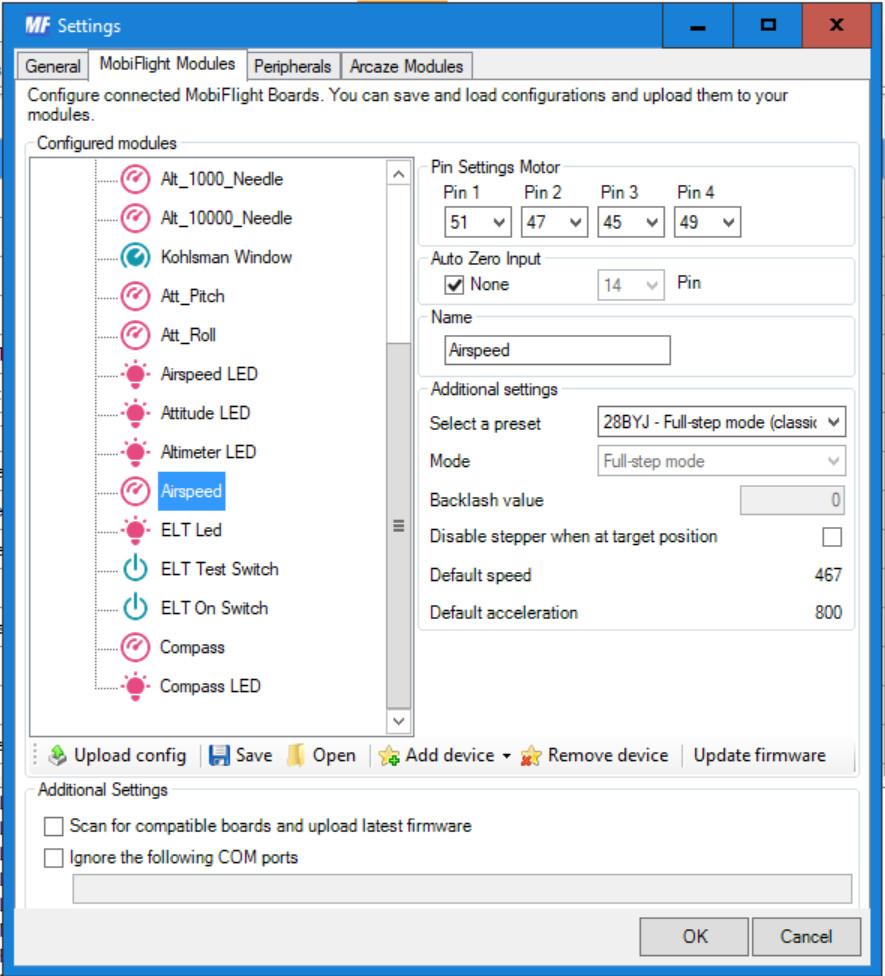
The X27-168 stepper motor that drives the airspeed indicator needle is, perhaps not so surprisingly, also used in some cars. Its connection with the Arduino also requires nothing more than connecting its four contacts to the inputs of the Arduino board. I have them on contacts 51 => Pin1, 45 => Pin2, 47 => Pin3, 49 => Pin4. When configuring the stepper motor in MobiFlight, you need to swap Pin2 and Pin 3, but the motor works with Arduino without additional electronics.
Below is a gallery with used parts… hopefully they will help you find alternatives, when in a few months the links below will no longer be valid 🙁
Programming
Programming is described by Captain Bob in his videos, which you can find a link for below in the Links section. As for the operation of the LED diode for instrument backlighting, I describe that in the article about Compass. Here it works exactly the same.
Downloads
You can download my modified airspeed indicator files below:
And the files to print the instrument panel:
MobiFlight programming of the entire cockpit:
Links
Let’s start with the links to resources from Captain Bob….
- Video-tutorial on how to assemble and configure airspeed indicator from Captain Bob
- Captain’s Bob Website
- Captain’s Bob Cessna 172 project on Github
- Captain’s Bob source files for the airspeed indicator on Github
And some links to used parts:
And used software:
All episodes of the series:
- My “home” cockpit
- Switches, dials and similar
- Instrument panel – DAVTRON Clock
- Instrument panel – Airspeed indicator – this one 🙂
- Instrument panel – Attitude indicator
- Instrument panel – Altimeter
- PFD & MFD
- ELT Panel
- Compass
- Ventilation system
- Conclusion of the first phase, summary, and thanks

