
A few words for the introduction
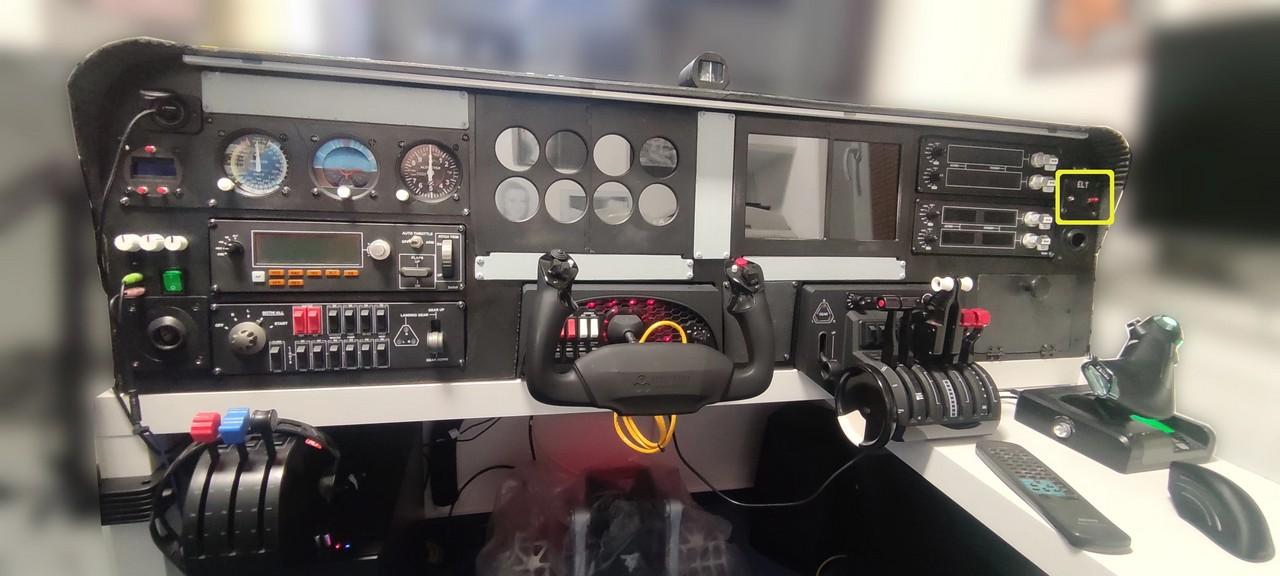
The ELT panel is used to control the “Emergency Locator Transmitter”. It’s a comprehensive panel that I designed myself (for my cockpit, not that it doesn’t exist in real life). It contains one diode and one three-position switch. This very complicated combination of controls can also be different, more complex or less complex (with only a two-position switch) in different aircraft. I liked this combination. The switch positions are:
- ARM – that is, it waits for you to smash the plane and then it starts sending an emergency signal and the diode should light up or flash.
- OFF – It will do nothing.
- TEST – Test of the operation. The diode should light up or blink too.
I don’t think I’ve found an “event” for the ELT test in the simulator yet anyway, so it only works as ARM-OFF, and some aircraft don’t even support the panel.
Gallery
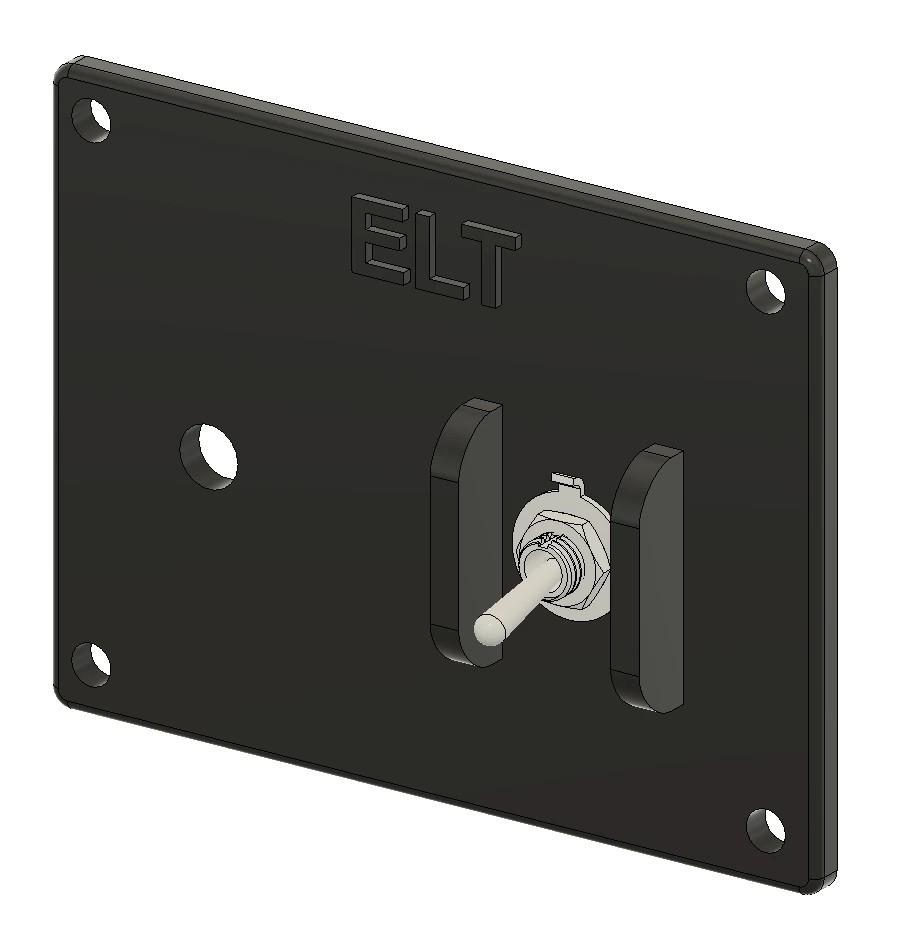
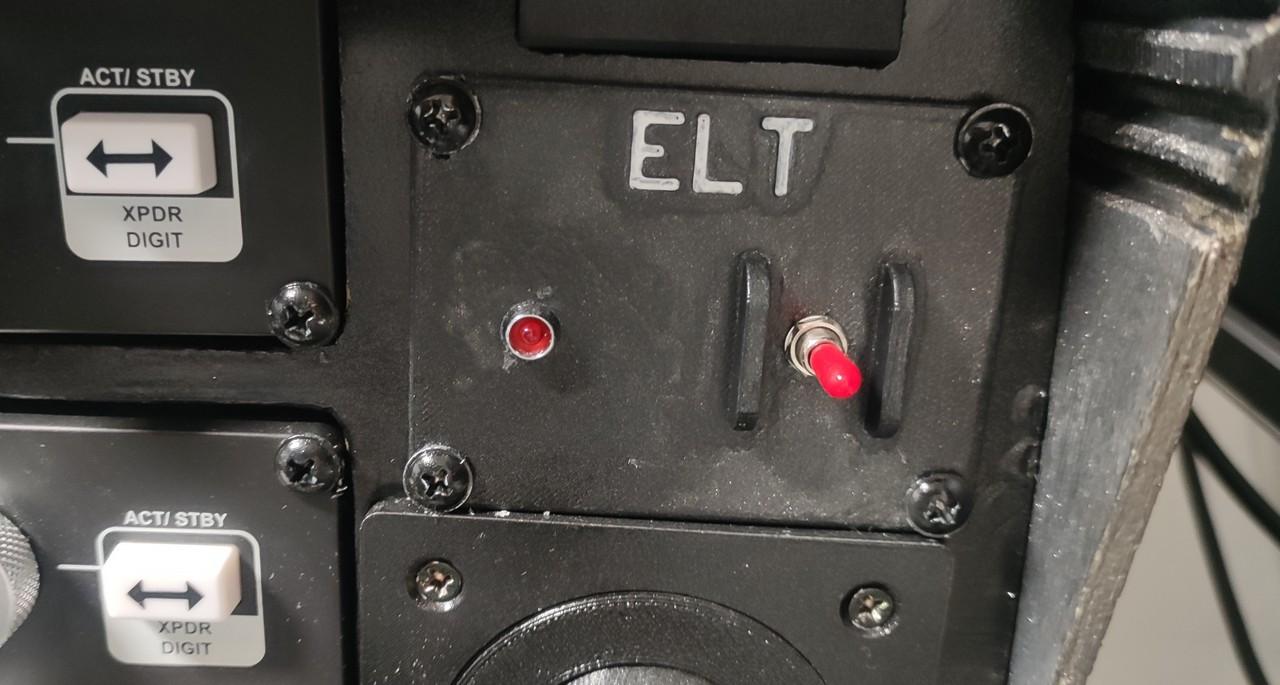
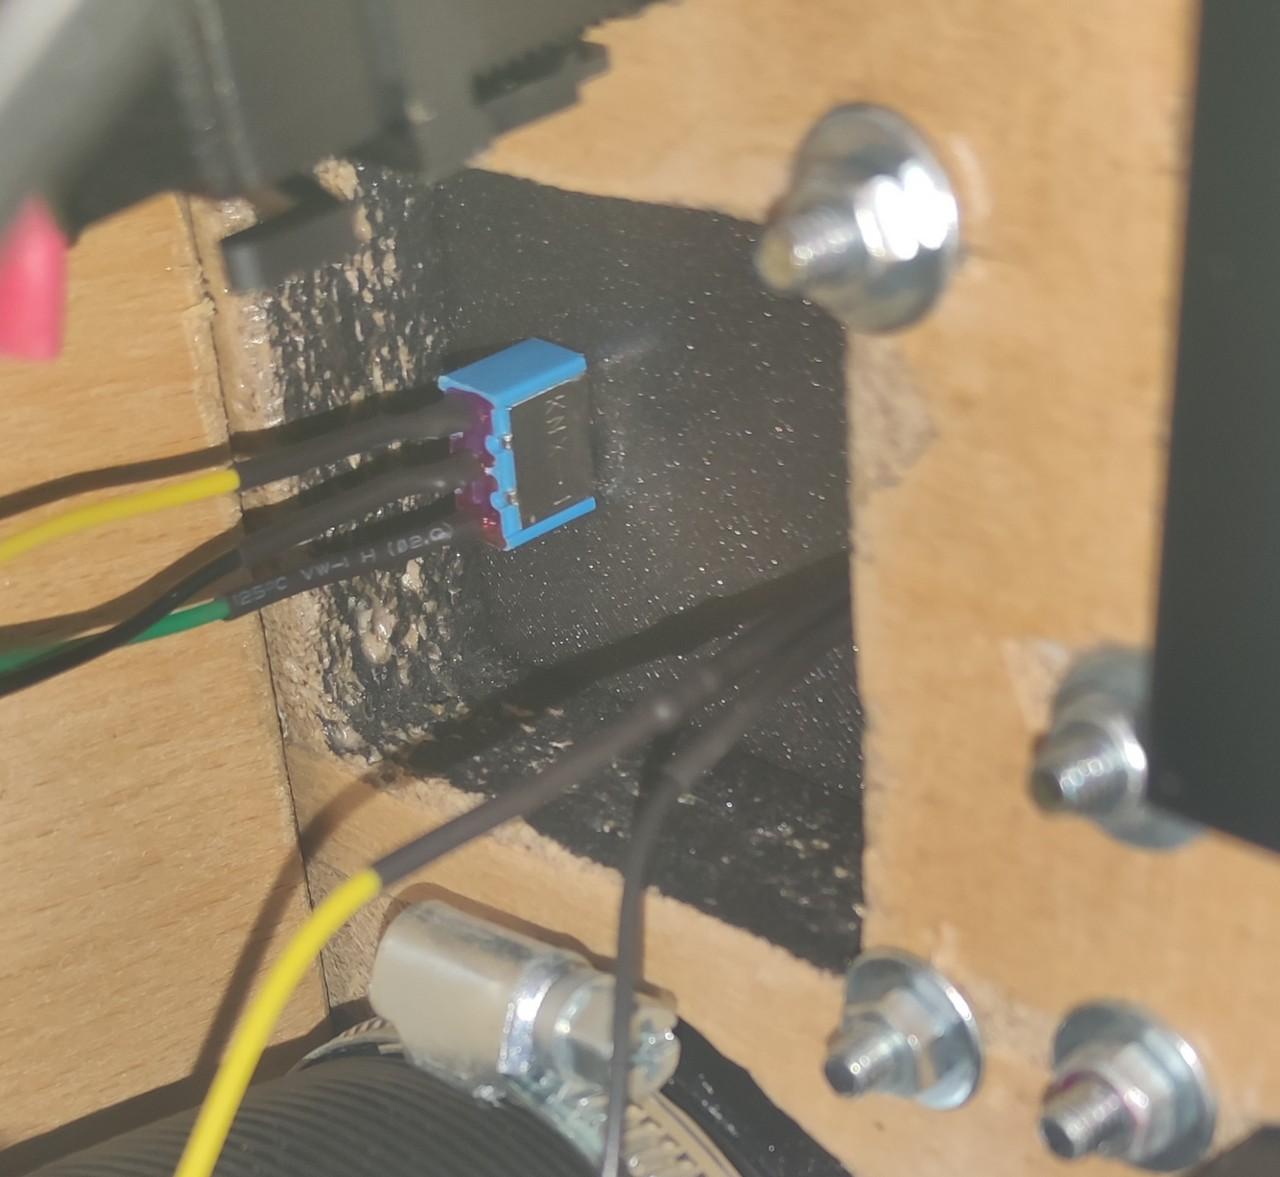
The description is a good thing, but the picture is just fine:
Wiring
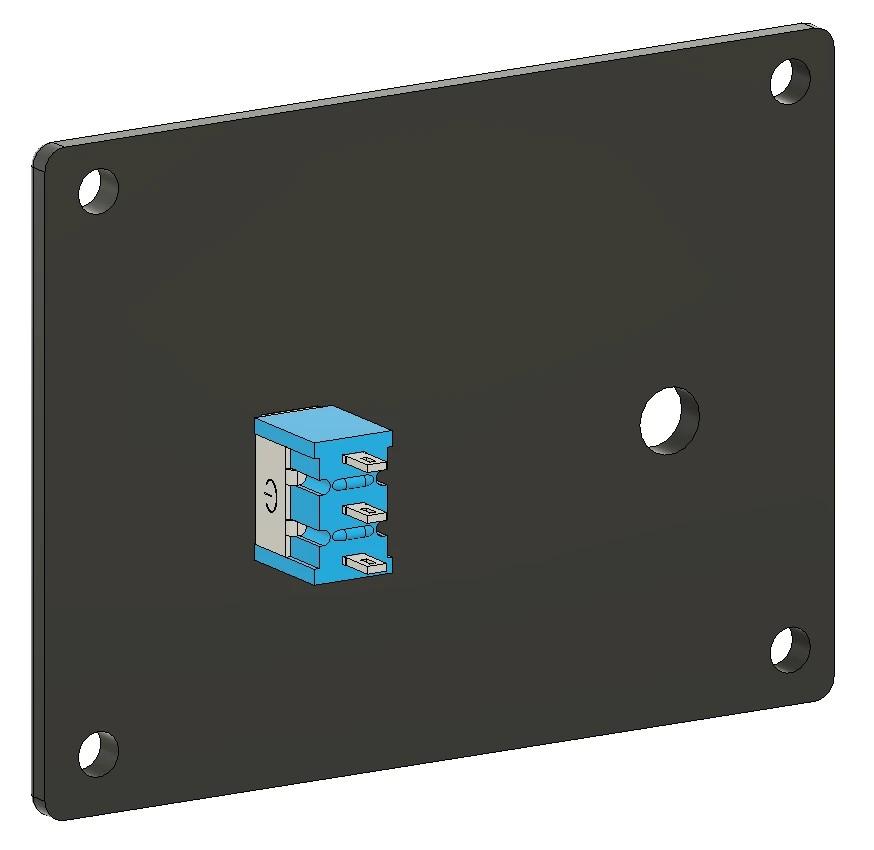
Below is a picture of the ELT Panel wiring.
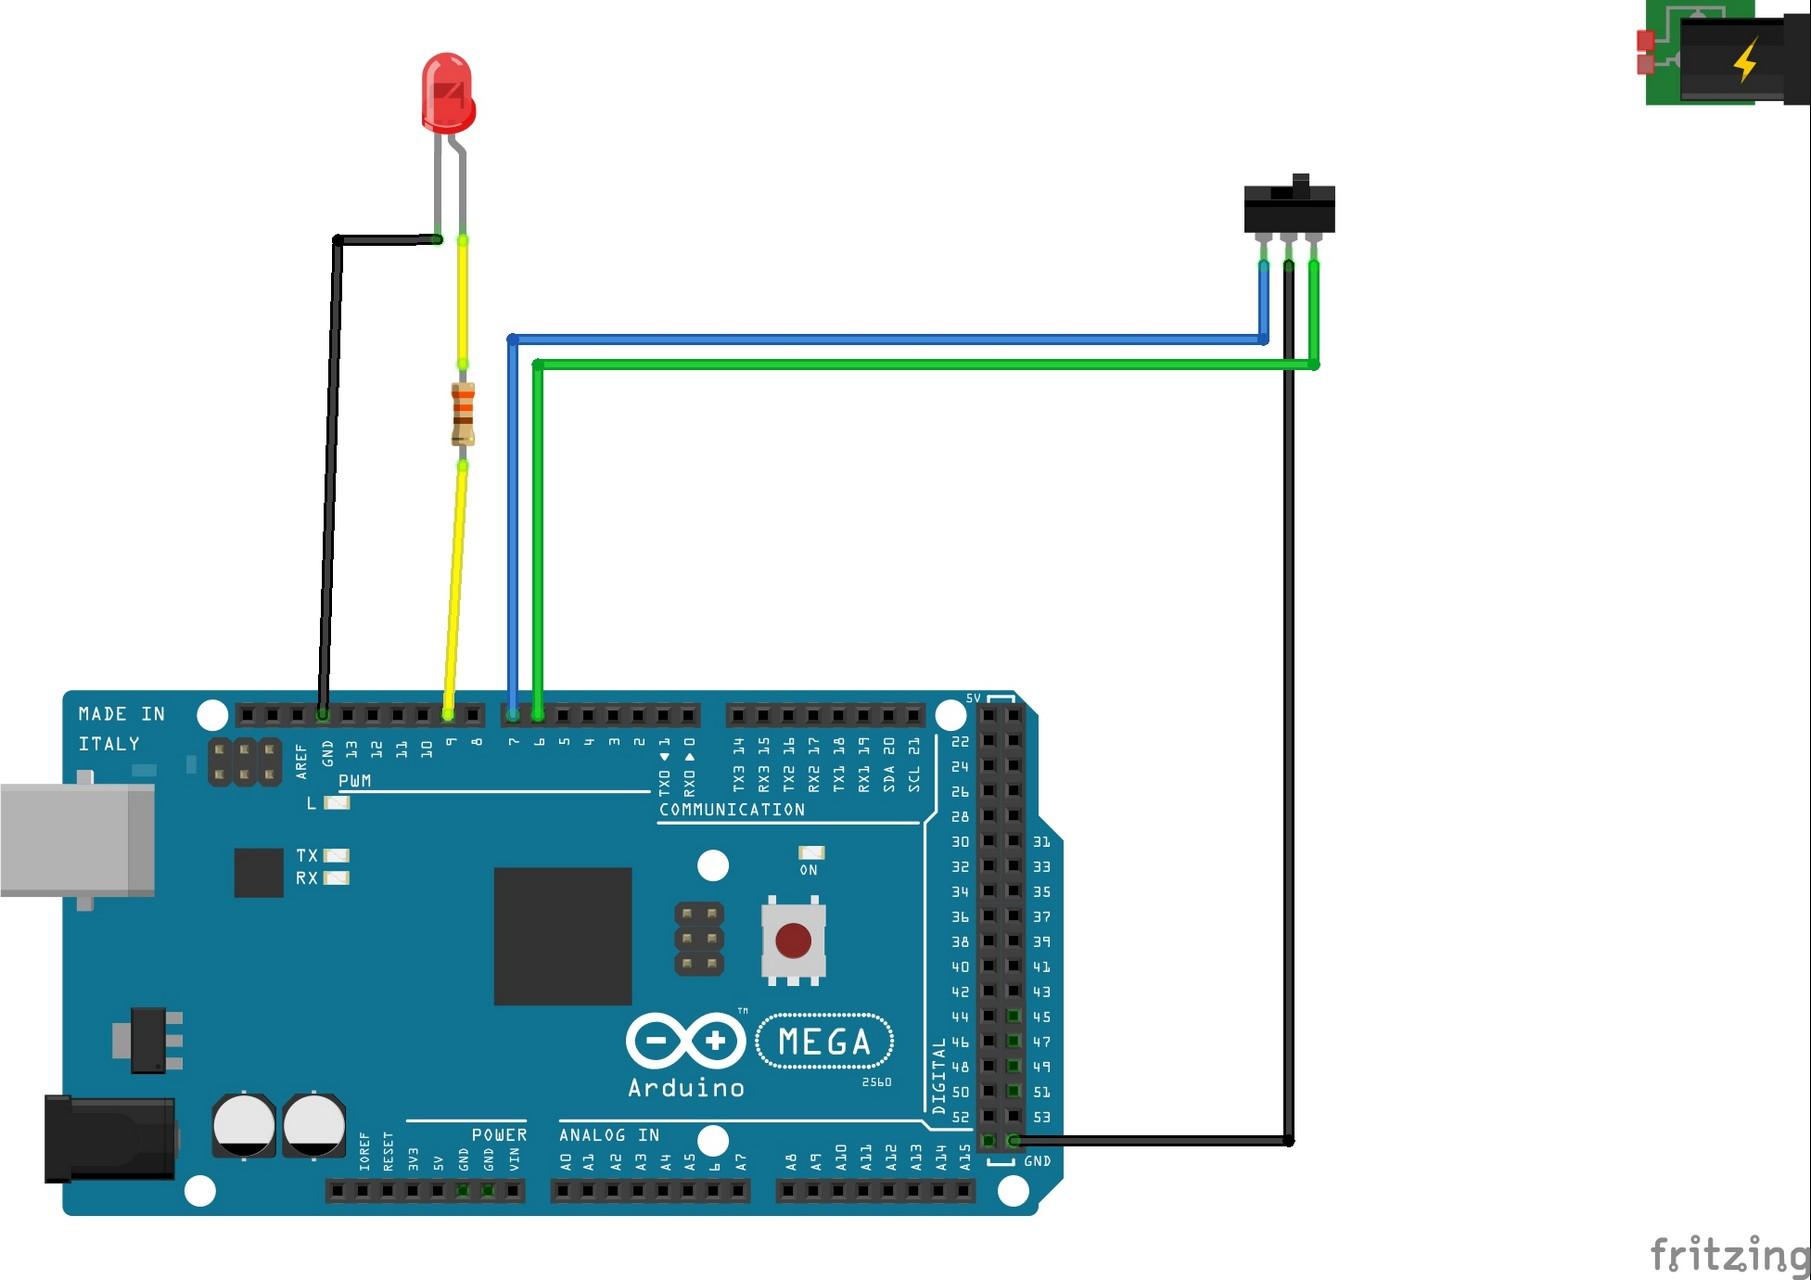
The signal LED has an anode connected through a 330Ω resistor to the output of the Arduino Mega board (yellow cable) and a cathode (black cable) to ground.
Connecting the ON-OFF-ON switch is just one wire more complicated. It has an OFF contact connected to ground (Ground – black cable) and the other two (blue and green cables) to the outputs of the Arduino board. So we are able to detect all three states. Either the switch is closed in one position, or in the other, or neither one.
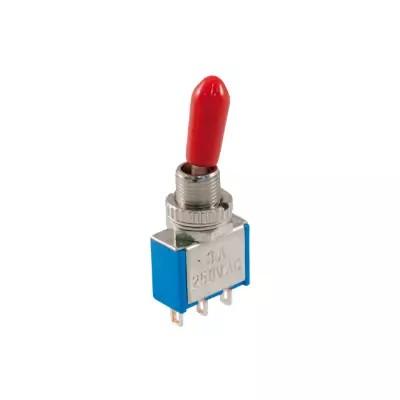
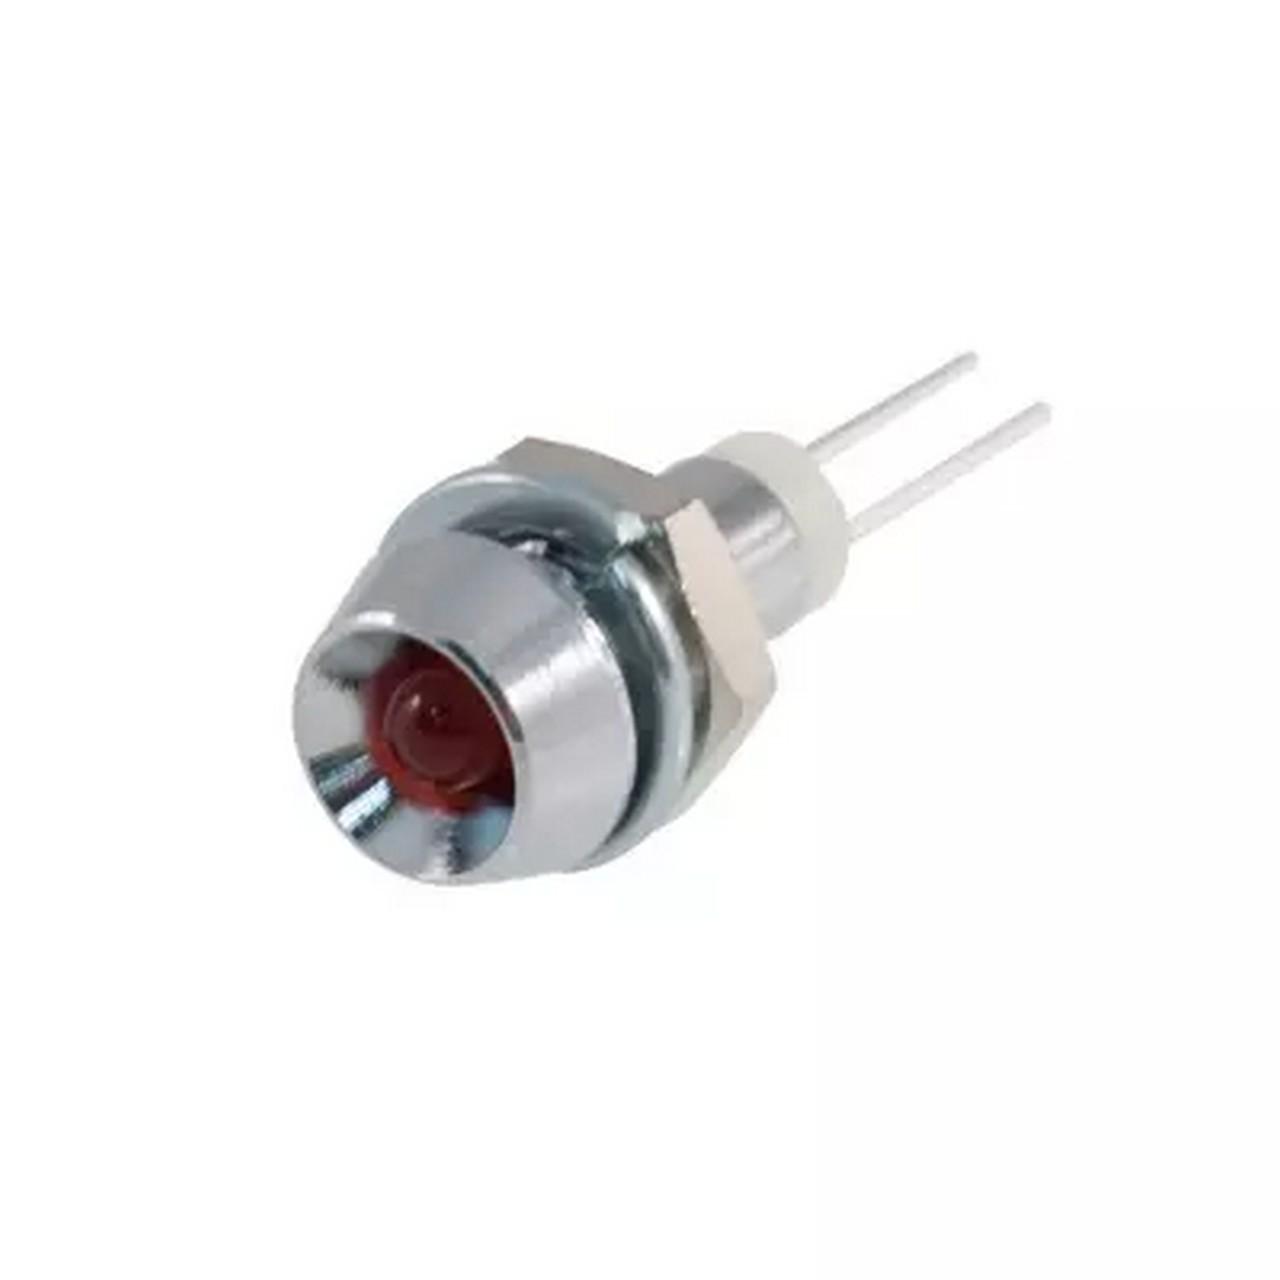
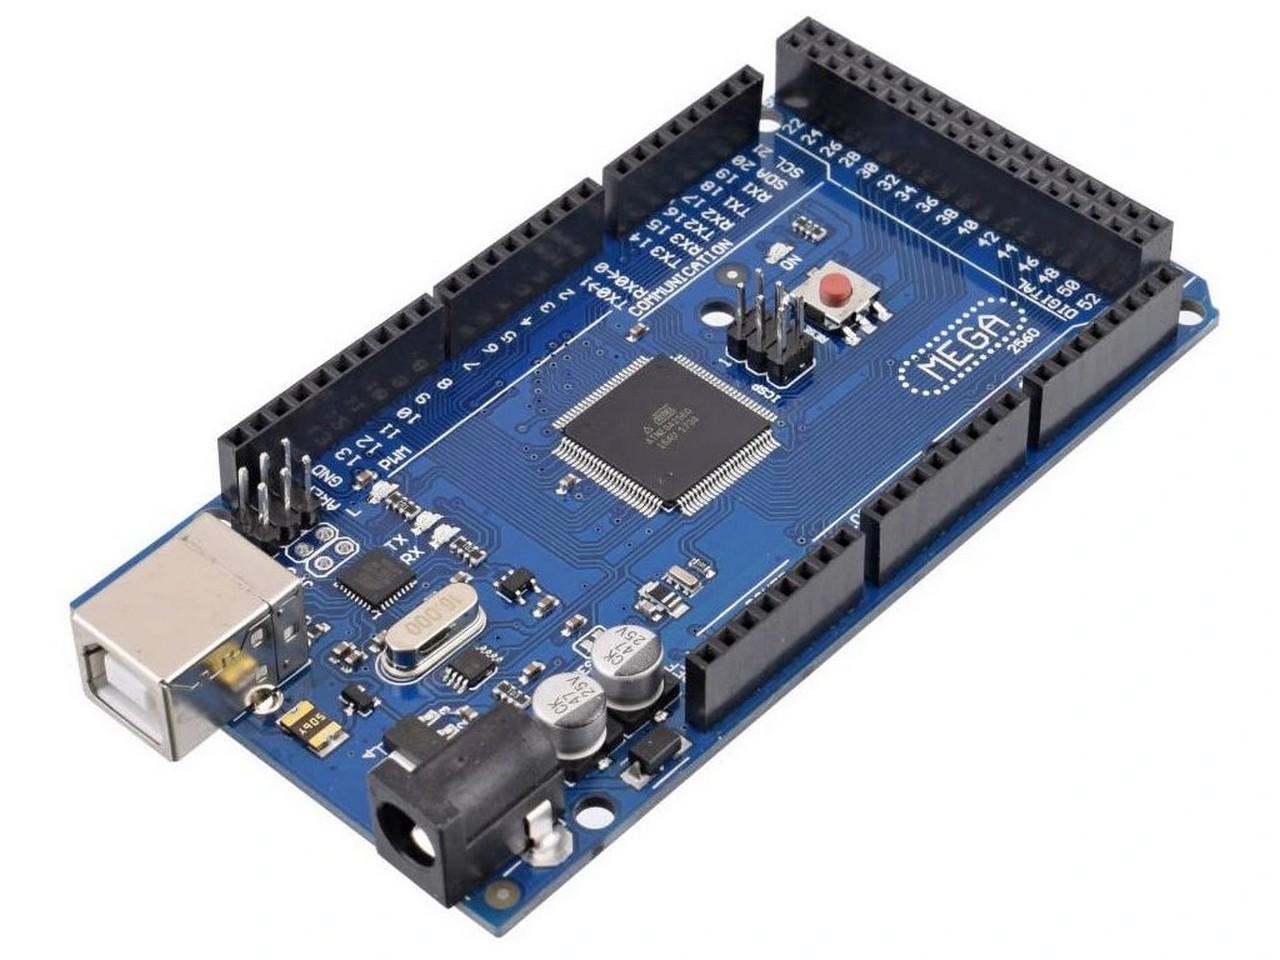
Below is a gallery with used parts… hopefully they will help you find alternatives, when in a few months the links below will no longer be valid 🙁
Pogramming
I programmed the ELT panel myself. I don’t consider the programming is 100% right now, but I’ll share what I have.
Programming of the diode
Not all planes in the simulator support the ELT panel, but for the Bell 407 helicopter, for example, I found some A variables that should be related to the ELT and seem to be somehow “global to Flight Simulator”.
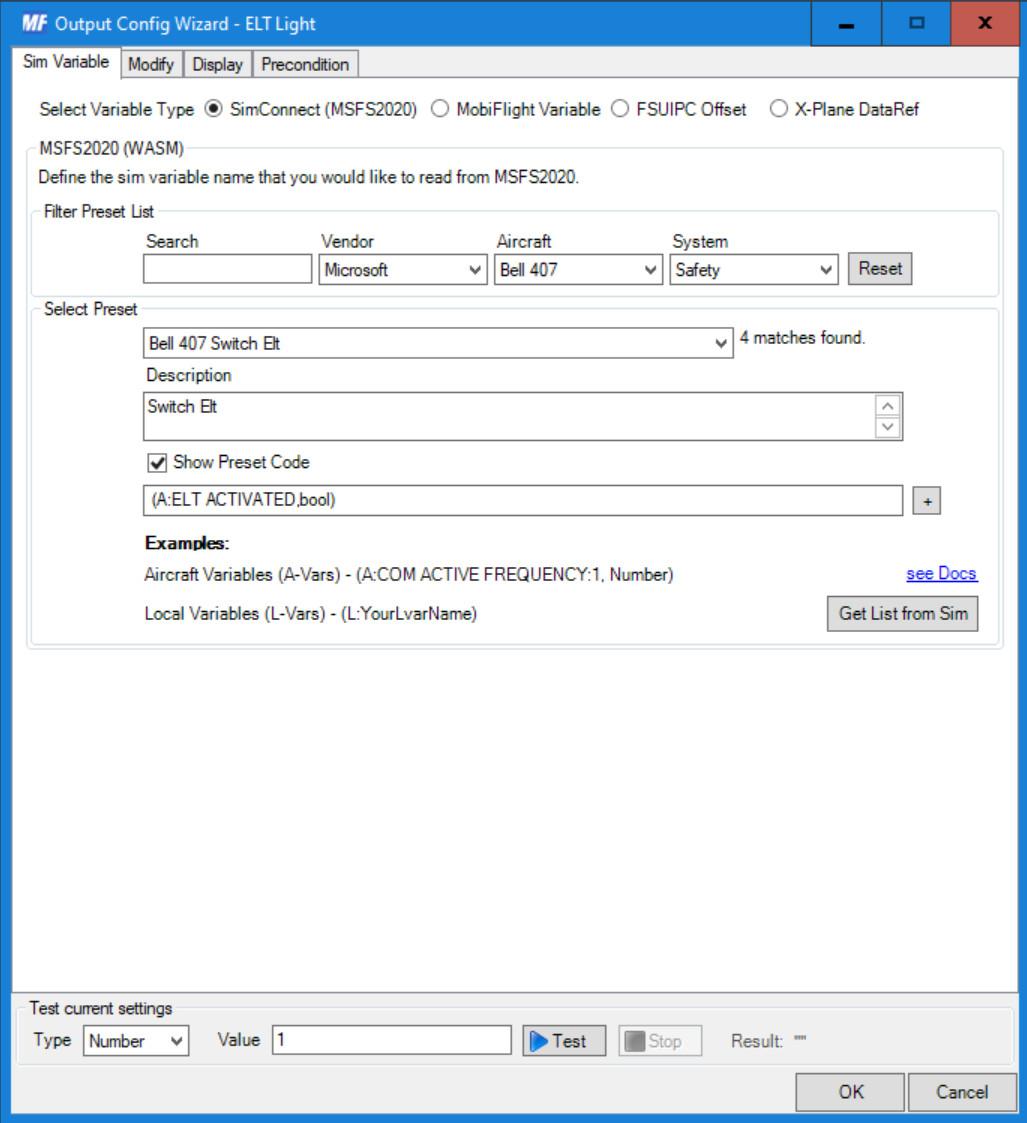
As for the lighting of the red diode, I have it programmed so far to respond to A variable ELT_ACTIVATED. On the Sim Variable tab in MobiFlight I used the SimConnect (MSFS2020) variable source and then found the Preset code for the Bell 407 switch Elt as shown below. It is a boolean variable where 1 means the ELT system is activated and 0 means it is not. We can use this value directly to turn the diode on/off without any transformation. So we can go straight to the Display tab and set there which diode we want to control according to this variable.
Here it is enough in the “Display type” section to set the option Choose => Output Device, Module => Arduino board to which you have the diode from the ELT panel connected ,
Use type of => LED / Output. In the next section, “Display settings”, just set the Select Pins => LED diode of the ELT panel. Leave the PWM Mode option unchecked, we do not want to change the brightness of the diode.

Programming of the switch
You can consider the ELT switch configuration temporary (until I come up with a better solution). I didn’t find a variable for ELT ARM status or TEST, so I only have ON/OFF status programmed, i.e. on/off. But it can behave like ARM, it depends on how it is implemented by which aircraft. For some, the ELT system can activate it immediately and therefore set the ELT_ACTIVATED variable, which should subsequently light up the ELT diode, which I linked to this variable in the previous paragraph. For other aircraft, it may just trigger the ARM state and set the variable only when the aircraft crashes.
So how is it done in MobiFlight?
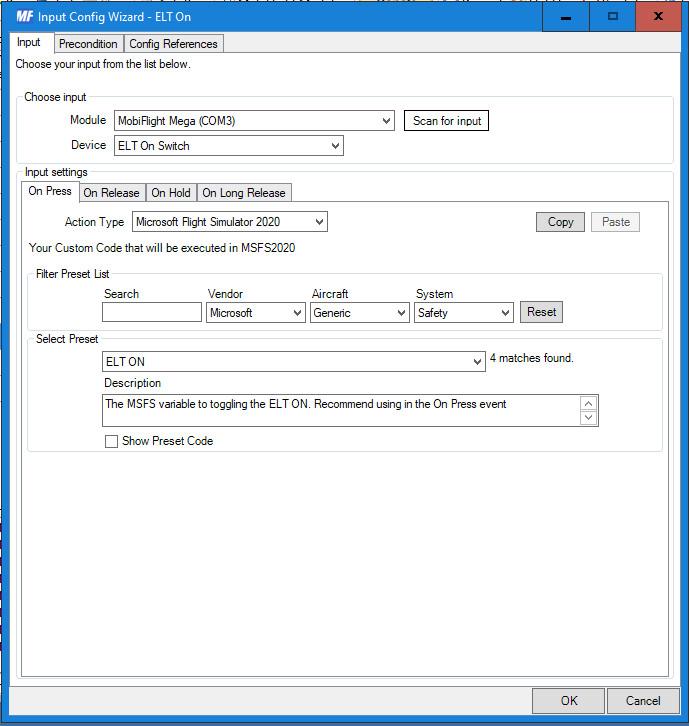
On the “Input configs” tab, I added an entry for the ELT button, which I named “ELT On”. Right on the first “Input” tab, in the “Choose Input” section, select the option Input => Arduino board to which we have connected the ELT switch. Device => The ELT switch, or the input that we defined as the On (ARM) position of the ELT switch. Furthermore, we will tell MobiFlight what to do when the switch is switched (is in the On position) and what to do when it is not. Below is the “Input settings” section, where there are several tabs. The very first tab “On press” defines what should happen when the button is pressed – the switch is in the ON/ARM position. We select Action Type => Microsoft Flight Simulator 2020. In the “Select Preset” section, we search for “ELT ON” in the list, which is the preset code for starting the ELT system. And that’s enough for the On position. Next, we move to the “On Release” tab, where we define what should happen when the switch is turned off – i.e. our 3-way switch is in the OFF position.
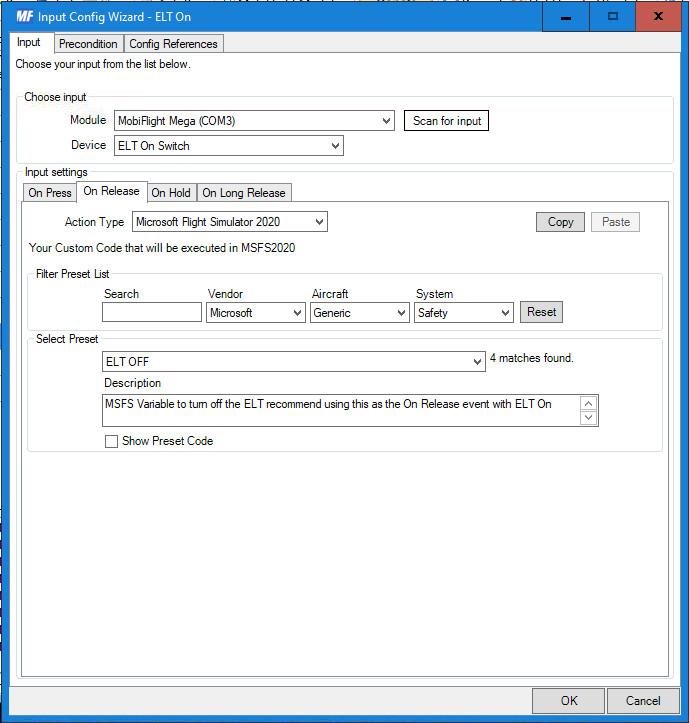
When the switch leaves the On position, we want to turn the ELT system off again. If you look at the image of programming below and compare it to the On position, you will see that the only difference is in the “Select preset” option, where the “ELT OFF” preset code/script is logically selected. And that’s all. Now when we switch the ELT switch to the On/Arm position, the ELT system starts and when we switch it to the OFF position, the system turns off again.
Downloads
MobiFlight programming of the entire cockpit:
Odkazy
Some links to used parts:
And used software: