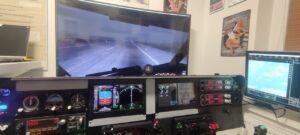
A few words for the introduction
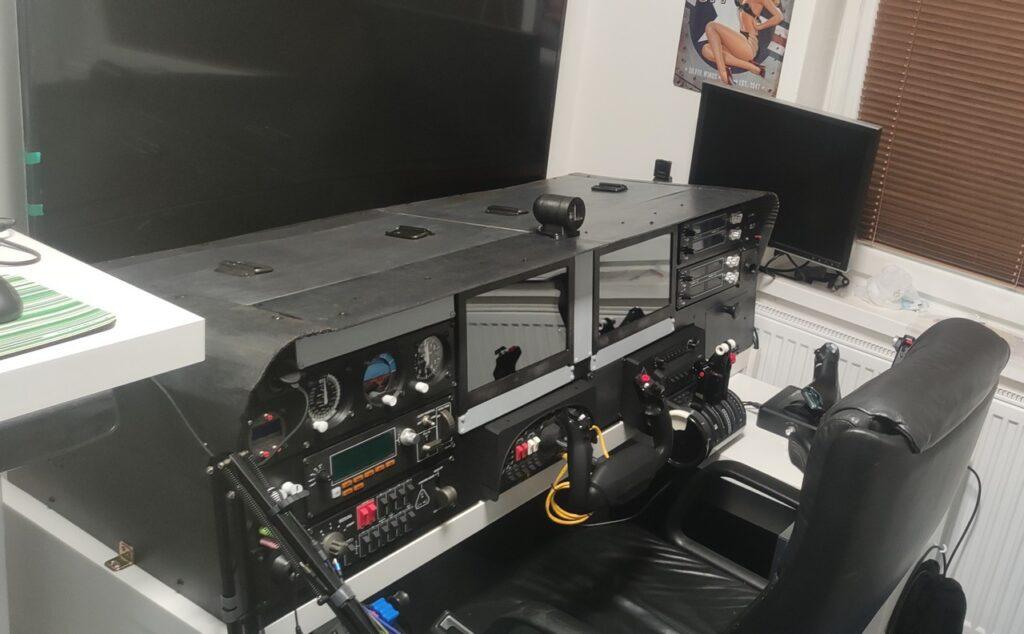
I sit down wit the computer, open the app for collecting letters, put my fingers on the keyboard and think about how to start. All this, for the umpteenth time. But that kohlrabi of mine still won’t and won’t give my fingers the right instructions to press the right keys, so how do I start? Maybe just like this.
I didn’t even want to write this article(s) for a long time. On the one hand, I feel that it will be unreadable for today’s time, when we concentrate for a maximum of 4 seconds, and then it also requires some activities that I don’t like to do. From one side, it may seem like a kind of self-aggrandizement, and I will also have to put online some photos from my home… but it won’t work without that. So what will it be about?
For several years I have dreamed of building a cockpit, or at least an instrument panel, for simulator flying. But for a long time I didn’t know where to start, I didn’t have the necessary equipment, time, and for the crowns there was usually another way to roll them. This February I crossed the milestone of 18 years of age plus 22 years of somewhat experience and I made myself happy with a 3D printer. I didn’t want this for a long time either, another stuff in the barracks and you have to learn something new again and… and how glad I am now that I have it. But that’s just down to the number of letters… The 3D printer has significantly opened the door to the realization of the cockpit dream. Of course, not only it, but also other sources, such as Lidl tools, the flight simulation community and others, I will definitely mention them later in the text, or perhaps at least in the last article.
Anyway, I decided to push my skills in manual work, electronics, 3D printing (I started at 0 here) and started the realization of my cockpit.
But on this journey several things were created, mostly 3D models for printing, which I could archive on disk for myself, but maybe they will also serve someone else, even if only as a starting point. Who knows, maybe I’ll inspire one of you to create a simulator cockpit too 🙂 And these are, in the end, the reasons why I write this/these “posts” .
And if nothing else, at least it will serve me as a kind of documentation 🙂
Cockpit of what plane?
Oh yeah, the cockpit… One of the things you really need to think about before you get into something like this is what kind of aircraft you want to ‘simulate’. That is, the cockpit of which aircraft you want to build. And now I have a problem. I don’t have a specific plane that I would fly with in the simulator all the time. Sometimes I like to fly small planes, like Cessna 152, 172, DHC-2 Beaver, etc. Sometimes bigger ones, like Beechcraft Turbine Duke, DHC-6 Twin Otter, and other times even the biggest ones like Boeing 737 or Airbus A-320. If I had to build a true cockpit replica of a real plane, the Twin Otter would probably win in the end, but I wanted something universal.
Cockpit design
The approach to cockpit design was by no means “scientific”. At that time (the beginning of the project) I didn’t know any software like Autodesk Fusion or similar (although it would work in SketchUp too) in which to design the whole thing. And to be honest, I was impatient and didn’t want to spend half a year planning at the PC. To begin with, it was essential that the panel had to fit my existing hardware:
- Honeycomb Alpha Yoke
- Honeycomb Bravo Throttle Quadrant
- 2x Saitek Radio Panel
- Saitek Multi Panel
- Saitek Switch Panel
I also wanted to have 2x LCD screens in the panel, if possible ones with touch support. These will display various flight instruments as needed using Air Manager. So I started with a rough sketch and measurements on the paper.
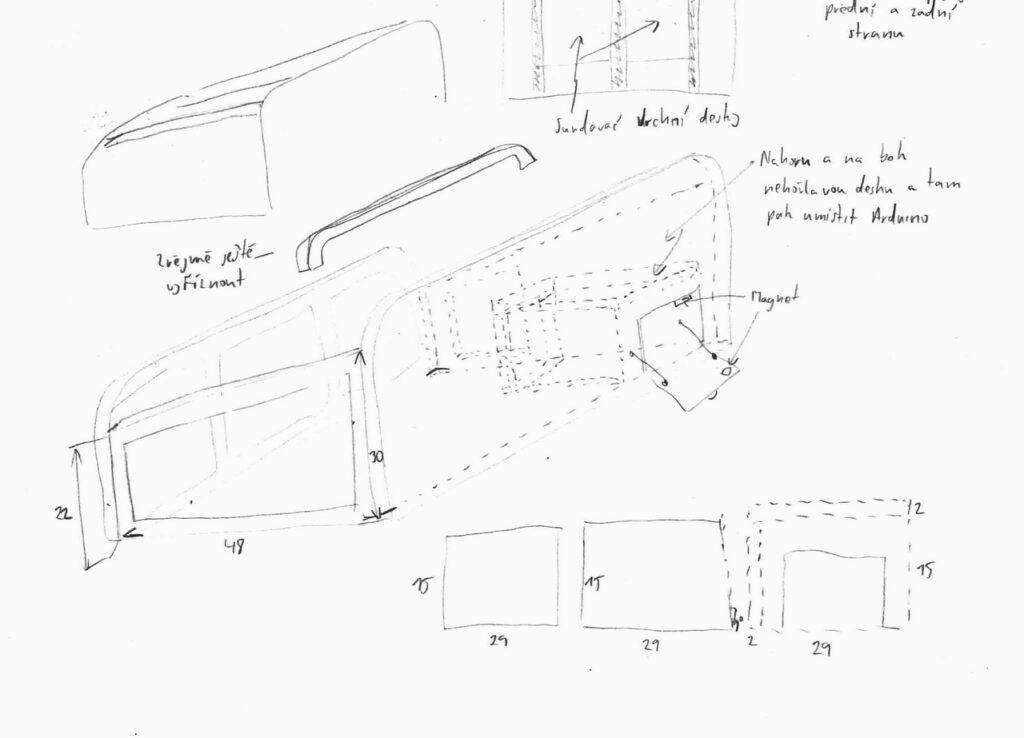
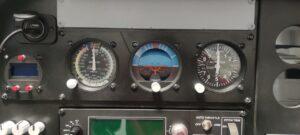
The entire cockpit – the panel, should also not be too high, so that I can still see the “projection” (television) from the chair (seat) on which I am sitting when I fly the simulator. The TV had to go a little higher, but it still remained roughly in the position so that I could look at the middle of it when sitting in the chair and not have to raise my head somewhere high. I sketched the idea of the whole structure on paper and then cut the first design version out of a cardboard box. Thanks to this, it became clear where there was still room to add something, and I began to think about what to fill it with. I also wanted small things like the main switch, headphone jack, USB connector for charging, operating hours counter, etc. There was still room left, so I thought about some instruments and indicators. And I found a project on the Internet by Captain Bob, who has been building a Cessna 172 cockpit from scratch for several years now and is documenting and sharing it all on his website, on Youtube and other places. I have a nice place left in the panel for backup instruments – airspeed indicator, artificial horizon (attutude indicator) and altimeter and also for a DAVTRON clock/stopwatch. And for these instruments, it would be great to make them mechanically, along the lines of Captain Bob’s Cessna 172 project.
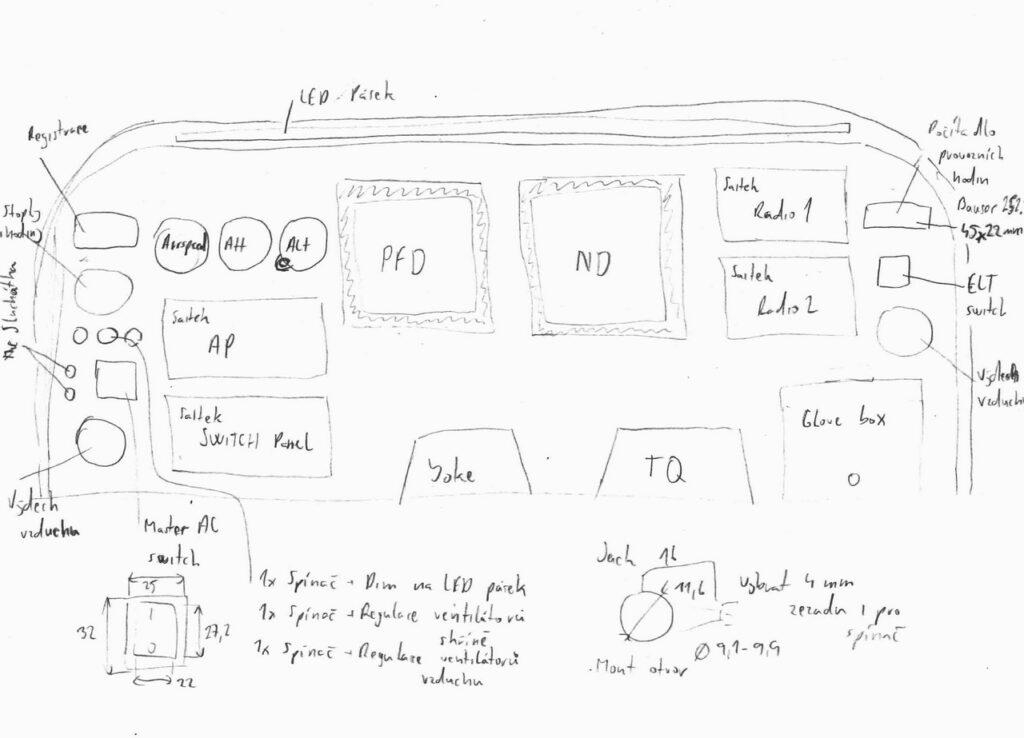
By that I have pretty much decided what the first version of the cockpit would contain. I also had basic drawings with some of the dimensions, a new 3D printer, actually ready-made procedures on how to implement those flight instruments… So it’s enough to run into the attic, get some wooden boards, tools from Lidl… download the 3D models and start printing… It could be done in 3 months , I was thinking…
Yeah, the planning usually starts with such optimism 🙂
Maybe you would tell me that at my age I could already have a better estimates about planning, especially, when I didn’t have it completely planned out… well, whatever, so far it’s always been almost the same, there’s a plan and then there’s reality.
You should know that…
This is the first article, or “post” as it would be more appropriate for a blog, of a total of 11 that I am preparing about the first phase of my cockpit construction. This is not going to be a step-by-step quide on how to build such a cockpit. As I mentioned at the beginning, I had no plans at all to write an essay about it. So, of course, I don’t have it perfectly documented and I put these things “back in” together . In other words, I didn’t even take a photo of any procedure of assembling the flight instruments, etc.
It is not even possible to describe the construction of such a cockpit in some “posts” anyway. That would probably be more like for a book. And most likely, not just one. It’s such a multi-skill discipline – manual work, electronics, soldering, 3D printing – just to name a few.
No, these articles will be more like a very rough description of the various parts of my cockpit and perhaps the whole… something like: “I made an altimeter according to this Captain Bob’s tutorial, this caught me off guard and I had to modify it, this is how I wired it and I used these parts…” . And, as I already mentioned, I will share with you the things that arose during the realization of my cockpit. And hopefully the articles will also be an inspiration. The vast majority of the cockpit is based on information, tutorials and files from Captain Bob and his Cessna 172 project. So it would be pointless to try to describe them again, I could hardly do better anyway. Even so, it will hopefully not be just “slapping on the keyboard”, in this series of articles / posts you will find files for download and 3D printing, circuit diagrams and even files with Arduino programming.
Most of the articles contains links to parts and materials that I have used during the cockpit build. I tried to find links for the same products at some “known” english shops, but it was not always possible. Some links may take you to czech shops. Some of them support english, others will open straight in czech language. You may need to open them via some translator to get some description of the parts to find alternatives in your area.
Downloads
Most of the articles in this series will also contain a “Downloads” section. There you will be able to download files related to that article. In the last article, it will be possible to download all the files.
Folders that you’ll find in downloaded files may contain numbering. However, this has nothing to do with the numbering of these articles, so don’t be scared if the numbers don’t sit well with you. It’s more of a thematic division of the components and it’s a little bit related to how I was putting it together.
Gallery
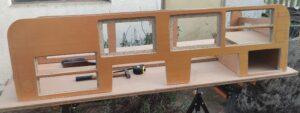
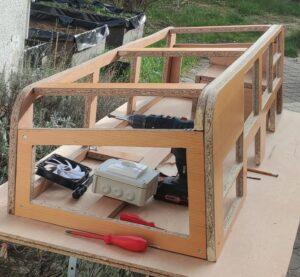
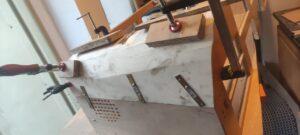
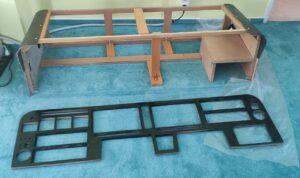
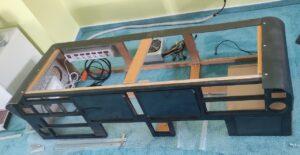
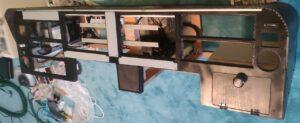
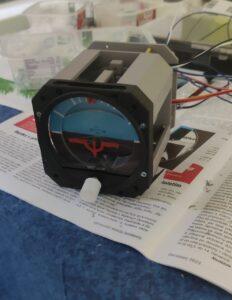
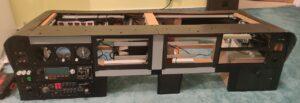
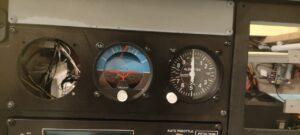
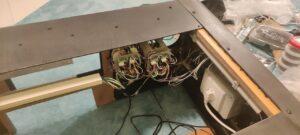
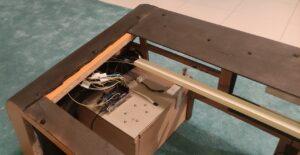
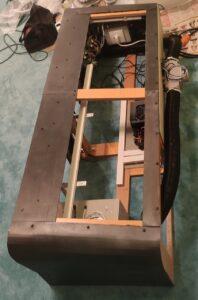
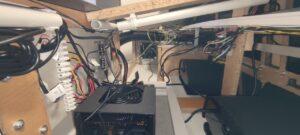
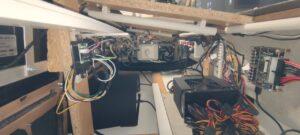
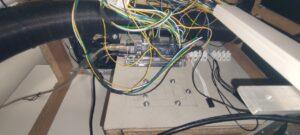
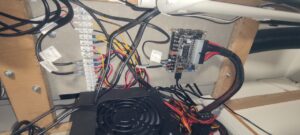
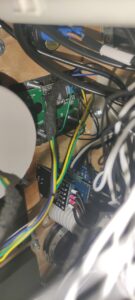
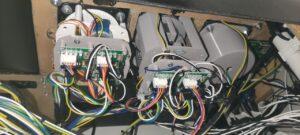
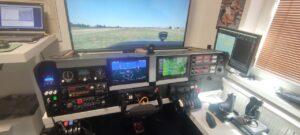
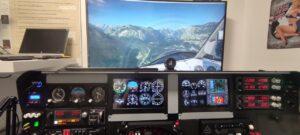
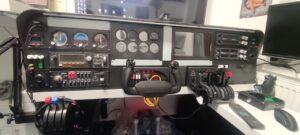
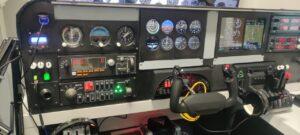
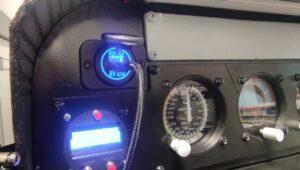
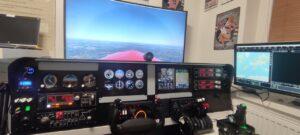
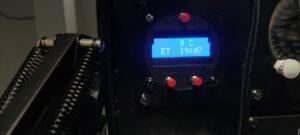
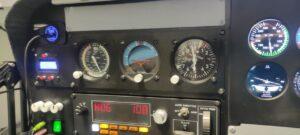
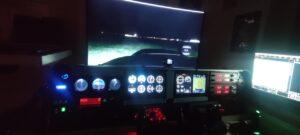
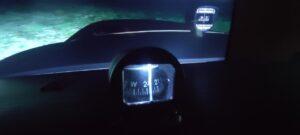
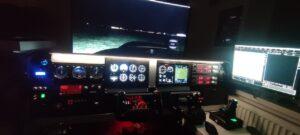
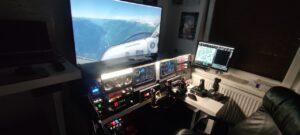
Here comes some pictures so you can imagine it a bit… if you didn’t see it directly from the letters above like Neo in the Matrix 🙂 First something from the construction:
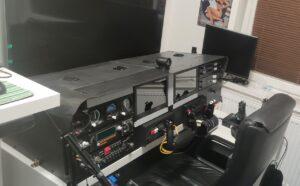
And some pictures of the finished cockpit from the first test flights:

